Monthly Archives: September 2012

Do I Need Bottom Paint on My Boat?

Sea Hawk Cukote Bottom PaintMost of the time when bottom paint is considered on a boat it is Antifouling paint. Bottom paint blocks growth of organisms that attach to the hull and can impact a vessels speed, performance, and durability when the boat is stored in water for extended periods of time. Antifouling bottom paint usually has a flat, dull finish that is used below the waterline. If you don’t have this challenge, you may not need bottom paint. 

If you don’t have a growth problem or would like a nice shine to your boat’s bottom look to our other items like gelcoat or a topside paint for moderate water exposure or an aluminum paint with no antifouling agents. Gelcoat adheres to most gelcoats or fiberglass/resins, see how to apply gelcoat.  A boat bottom with antifouling will need to have it removed via sanding, sandblasting or bottom paint remover before a different type of paint will adhere.

There are generally two types of bottom paint both of which have several variations that create a multitude of products in the market place. The two different types or categories of bottom paint include hard bottom paint and ablative bottom paint.

Hard Bottom Paint vs. Ablative Bottom Paint

Hard bottom paint is bottom paint that is a hard modified epoxy. After you apply hard bottom paint it is very durable and does not wear off. Hard bottom paints typically have a higher ratio of pesticides (usually copper) in them that are exposed in the outer surface of the bottom paint coating. As time goes by, the coating oxidizes and becomes less effective in combating marine growth. Hard bottom paint is generally used on boats when the boat sits for long periods of time without moving at all, or there is little movement of water (current/ tide) around the boat. You should not use a hard paint if you boat comes out of the water such as on a trailer or a lift. After 72 hours, the hard bottom paint will oxidize on the outer surface from the air and becomes ineffective. If you are trailering your boat, or keep it on a lift you should always use ablative bottom paint.

Ablative bottom paint, also known as self- polishing bottom paint, is softer and allows the coating to wear off at a controlled rate. Much like a bar of soap, once the boat moves in the water or there is a current and or tide, the outer layer slowly wears away. The wearing away of the self-polishing bottom paint allows for new, unoxidized paint to be exposed. Therefore, if you are trailering your boat, or it comes in and out of the water for any reason, the paint will oxidize within 72 hours. However, once placed back in service, that oxidized ablative paint wears away and exposes a new fresh outer coating with active protection. Ablative bottom paint is a newer technology then hard paint. It is the preferred bottom paint of most users since it typically lasts longer and continuously exposes a new active outer coating that protects against marine growth.

How long does bottom paint last on a boat?

In general, you should apply boat bottom paint once a year, however; some bottom paints can last for two years. If your boat is kept in the water or you use it regularly, you you have it checked annually to determine if it requires a new bottom paint coating.

For more how to use details see How to apply bottom paint to bare fiberglass or How to apply bottom paint over existing bottom paint.


How much does it cost to bottom paint a boat?
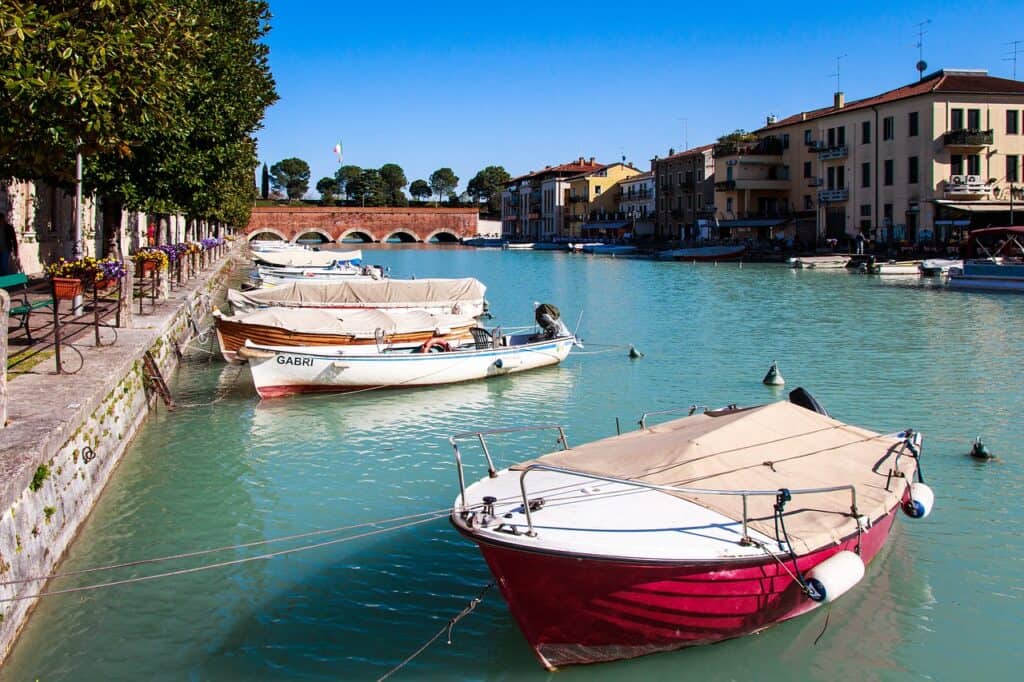
How much does it cost to bottom paint a boat?

The cost to paint the bottom of your boat depends on a number of factors including the size of your boat, the paint you choose and whether you use a primer or not. Other factors include whether you will paint your boat or hire someone to paint it. For example, Biocop TF by Sea Hawk, is a popular bottom paint and currently costs $275.77 a gallon and provides theoretical coverage of 315 square feet per gallon. If the bottom surface of your boat is 700 square feet you would theoretically need to purchase three gallons (Biocop is not offered in quarts) at a total cost of $827. 31 for the three gallons.

That may seem expensive for paint, however boat bottom paint uses antifouling properties in order to protect the boat’s bottom from organisms found in saltwater and other elements.

For information on calculating how much paint you need to paint your boat bottom you can refer to our Bottom Paint Calculator.

Applying Antifouling Paint to a Pontoon Boat

If you do not have any coatings at all on the bottom of the boat, we suggest to sand the pontoons with 80 grit and then apply Tuff Stuff High Build Epoxy. It is a water tight barrier coat designed for use under the waterline and with aluminum hulls. Tuff Stuff will insure that you protect the aluminum from corrosion, and also aid in the adhesion of the antifouling paint. Use 2 coats. You can apply the 2nd coat within a couple of hours of the first coat. See detailed instructions at How to Apply Marine Epoxy Primer”.

TUFFSTUFFnewAfter you apply Tuff Stuff marine epoxy primer on hull, be sure to use an aluminum safe antifouling paint. The bottom paint needs to be applied the same day as the Tuff Stuff marine epoxy primer. Antifoulants in general are designed to repel hard growth. For soft growth you should have an additional biocide that help with the algae. Colorkote is an excellent antifoul for aluminum pontoons used in salt water and/or fresh water. For a less expensive option, see Smart Solution Metal Free Antifouling paint.

WARNING: You should only use an aluminum safe antifouling like Smart Solution. Using any other type of copper based antifouling could severely damage your pontoons and will cause corrosion, pitting and eventually holes in your pontoon boat.

If you do not need antifouling paint and are in fresh water, we suggest using one of the products located in the “How to Paint an Aluminum Jon Boat article.

Links:

How to Video:

How to Apply Non-Skid Paints

Non-skid paints can be used for various different applications and circumstances. The most common use of non-skid is on boats, or for marine use. Although that is the most common, it is used in many more conditions. Here are some other examples of how non skid paint can be used outside of the nautical setting.

  • Industrial Buildings
  • Amusement Parks
  • Utility Vehicles
  • Ramps
  • Mechanic Shop
  • Walk-in Freezers
  • Ski Areas
  • Handicap Utilities
  • Residential Decks
  • Stairs
  • Restaurant kitchens
  • Stadiums
  • Restrooms
  • Warehouse floors
  • Wooden Decks
  • Food prep areas
  • Hospitals
  • Schools

One option is to add non-skid to paint or gelcoat. This process is when you take paint/gelcoat and add a non-skid additive such as Duralux non-skid additive non-skid additive for gelcoat, and Griptex for Awlgrip.  Another options is adding non-skid pumice to Blue Water Mega Gloss or Sea Hawk Aluma Hawk Camo paints.

The additive for gelcoat is extremely easy and adds just one extra step to the gelcoat application process. You simply mix the additive in with the gel coat before application and then apply. Alternative preferred application methods include using a flour sifter, powdered sugar shaker, or the punctured container itself, sprinkle the non skid into the gelcoat or paint. To use the container just punch holes in it with a nail or ice pick, overlappping the broadcasting stroke to provide a uniform pattern.

The Interlux Interdeck is available with non skid already premixed for ease of use.

The amount you use is completely subjective and dependent on what your goal is; it is recommended to use no more than a quart of non-skid per gallon of paint.  The available sizes of additive are a quart and a gallon.

How to Repair a Gelcoat Scratch, Cracks or Hole

When looking at a scratch in the gelcoat, you need to determine whether it is a surface scratch or a deep scratch. The reason being is that surface scratches can easily be buffed with a rubbing compound as opposed to deep scratches which take a couple more steps. As long as the gelcoat around the deep scratch is in good condition, you will be able to use gelcoat putty , requires mixing MEKP catalyst-once mixed properly it can be worked with a putty knife for filling, or you can make one using gelcoat and an aerosil filler/thickener. Once the filler is applied, the service will be uneven so sanding and polishing will be necessary. Customers report wet sanding with 2000 grit worked well. Everything about the repair of the scratch is fairly easy to do.

For deeper gouges, you will need to purchase gelcoat in various colors. Tints are available as well if custom matching larger quantities of gelcoat or paste. The kit will contain everything you need to do the job including some tints for matching. Some find the gouge needs to be scraped deeper with a screwdriver or Dremel tool to open it into a wide V to make sure the gelcoat has a place to settle and more permanent.  If you simply cover the cracks they may continue to spread. The  gelcoat that exists on the boat is already bonded with the laminates that are underneath. That being said, you will have to rough the surface up a bit with sand paper in order to give the paste something to stick to. Please note that you need to clean the surface with acetone after sanding to clean any contaminates off that may interfere with the filling process.

When the damage is a larger (like a screw hole) you made need 3M’s Preminum Marine Filler or 3M Marine High Strength Repair Filler. These are for bonding and filling repairs above or below the waterline and can be sanded. Some customers prefer to mix some thickener (cabosil) and gelcoat to a thick consistency. Both of these products can be applied with a spreader. If coating over with gelcoat be sure to leave space (about 1/8 inch) for the gelcoat. Splash Zone epoxy is easy to use for large areas underwater for all substrates.

For puncture holes through the gelcoat or several holes have been drilled through and need filling you can also consider using the Hawk Epoxy System. See information on how to choose the Hawk Epoxy kit.  

If the underlying problem for the hairline cracks is not handled, re-gelcoating over them will only be a temporary fix, such as a soggy core or broken support. The cracking has stemmed from a crack below the gelcoat and in the fiberglass. This is one option to repair those cracks:

  1. Using a Dremel tool, remove the gelcoat on either edge of the crack, all the way down its length. Basically this widens the gap and reveals the fiberglass layer beneath.
  2. Determine if there is a crack in the fiberglass. If there is, it needs to be filled with a putty containing fiberglass strands. Duraglas Fiberglass Filler is one option.
  3. Apply Gelcoat to the area. Can be brushed, rolled, or spray applied.

Once you have the gelcoat mixed, saving the hardener for last, begin to spread over the gouge with a plastic spreader. Since the paste will shrink slightly as it dries, make sure you put a little extra paste on the “wound”. A slight bulge will be ideal after the paste is applied. As the paste will not cure completely in the air, you will need to put a plastic film over it. If your kit does not have one, shrink wrap or wax paper will work. Tape the plastic/wax paper on all sides over the paste and let dry for 24 hours.

After the 24 hours are up, remove the plastic/wax paper. Take a piece of 400 grit sandpaper accompanied with a 3M sanding block and begin to level any areas that are raised and uneven. It will help if you have a bucket of water or water hose handy to wash away the excess material as you sand. Once you have completed the sanding with the 400 grit, you will need to now use a 600 grit sandpaper to go over the repair. The reason this is being done is to eliminate any scratches the 400 grit may have put in the repair and smooth it even more. You will continue this process moving up to a 800 grit and then a 1200 grit. Occasionally you will want to dry the repair area just to get an idea of the work you have done so far.  At this point you can wax and buff the repair.

Removing Stains from Gelcoat

A gelcoat surface is a very smooth, mirror-like finish when it is new. As gelcoat ages, it becomes porous which means the more easily it stains, the worse it looks and the harder it is to clean. Most all gelcoat can be restored, providing it is not completely worn through. Exhaust stains, like diesel, can develop on the surface of the Gel Coat. These stains can set in on the wax surface of the gel coat but the right cleaner can remove them. If the stain goes deeper, a bit of elbow grease will be needed.

Clean and inspect the surface with a wash with a mild cleaner like 3M’s boat soap or some alternative stronger cleaners if needed. After cleaning, dry and inspect surface for needs to be addressed: scratches, dings, cracking and crazing and to fix these flaws before rubbing out the gelcoat and restoring its shine. See the fiberglass/gelcoat repair section for options and the West System Video for “how to” instruction.

Apply a fiberglass stain remover, like 3M Fiberglass Restorer and Wax , Mothers Marine Black Streak Remover, or 3M Marine Cleaner and Wax to the stained gelcoat area with a clean rag. The black/gray stains are the result of soot being deposited on your hull. It can happen when wet exhaust systems mix the exhaust gases with seawater and discharge those gases or dry exhaust systems discharging the soot directly into the atmosphere and it lands on your boat.

These liquid one-step products that combine a polish or compound with a wax remove oxidation, and protect the gelcoat in one step.

Wait 10-15 minutes. If the stain is simply laying on the surface of the Gel Coat, the stain will begin to loosen; rinse and inspect the results.

If the stain is lifting, repeat. If not, then something stronger like a more abrasive compound with a polisher may be needed; in that case a wax will be needed to restore the shine. Each time compound products are used, some of the gelcoat is removed. Use caution to use the least aggressive product that will get the job done. Frequently all that may be needed is to apply a protective coating of wax, such as 3M Ultra Performance WaxScotchgard Marine Wax, or Mothers Marine Synthetic Wax to help keep that shine.

For more gelcoat restoration tips see our how to Maintain and Restore Gelcoat link and Aqua Buff information.