Monthly Archives: March 2019

Gelcoat Did Not Cure – What Caused It and What’s Next?

For many “do-it-yourselfers,” applying gelcoat can be quite intimidating. It is not as simple as painting and can be somewhat difficult to work with. One of the most frustrating problems to deal with is a new application of gelcoat that refuses to harden and cure. When one of our customers has a problem with gelcoat not curing properly, it usually stems from one of the reasons below.

What Caused it?

Incorrect Surface PreparationGelcoat will only adhere to fiberglass, previously cured gelcoat, or polyester resin. Do not apply gelcoat to any paint or protective coating because it will not adhere. Existing paint will have to be removed.

In order to prepare the surface correctly, it must be sanded. The heavier fast-cut grits (40/80/100) are used to feather sand and ground out a routed area prior to filling. Also, they are used for the first sanding of gouges, scratches, and blisters. When sanding areas that have been filled with putty we suggest using 40 or 80 grit sandpaper, depending on how large the repair is. You should also feather the surrounding area of the gelcoat repair with 220/330. When sanding flat areas use a rubber block. Use 3M Abrasives for best results.

Next, clean the surface with Acetone. All surfaces must be clean, dry, and free from grease, wax, oil, and other foreign matter. At this point, the repair is ready to spray or brush with gelcoat.

Not enough catalyst – Most gelcoat manufacturers list the amount of catalyst (MEKp) it requires on the side of the can. If you are unable to find a chart, you can use the two charts listed below. We recommend 1.5% – 2.0 % by volume. The Ideal range is 1.8% @ 77°F (approximately 12 drops per ounce of gelcoat.) If the gelcoat does not get enough catalyst it will not “kick” or begin to harden. Measurements need to be exact so you can be confident the gelcoat is mixed properly before applying it to the surface. If the measurement is off even slightly, the gelcoat could start to harden but not cure completely, leaving a tacky, non-sandable surface.

Too much catalyst – It is also possible to add too much catalyst (over catalyzing) to the mixture. This will cause the gelcoat to start curing in the can or while you are applying the gelcoat. It could happen when mixing larger batches of gelcoat since this is a chemical reaction that gets hot and cures quickly. Always mix in small batches. You should catalyze your material so that it cures as quickly as possible within your working time. Generally, mix one-pint batches. Under catalyzation slows down the curing process and causes fading and chalking in the final product. Double-check that the amount of catalyst you plan to add is correct for the amount of gelcoat you have set aside. Remember that gelcoat will react differently depending on the ambient air temperature. For warmer weather use less MEKp and for cooler weather use more MEKp to get the correct mixture. (See charts below.) It is always a good idea to keep your gelcoat at room temperature, especially prior to application. A good practice is to pour the mixed gel coat from the mixing container into another container used for application. This further assures that no uncatalyzed material is clinging to the sides of the pot.

Tips
1 mL = 1 cc If using wood mixing stick, place stick in resin before adding catalyst so the wood doesn’t absorb catalyst. Only catalyze slightly more than needed. Resin that cures still in the mixing pot is unusable.
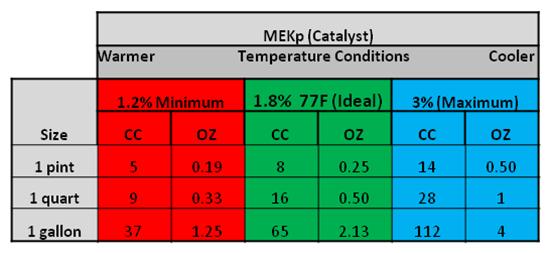
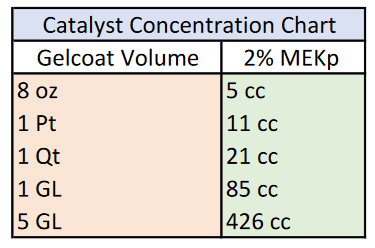
MEPk Levels
Note the size and temperature variables.
For Darker Colors – use 2% MEKp


Did not use a surfacing agent – In order to cure properly, most gelcoat require the use of a surfacing agent on the final coat. The most common type of surfacing agent is Wax Additive Sanding Aid. This wax additive seals off the surface from oxygen in the air, allowing the gelcoat to dry tack-free. The recommended ratio is 1 oz wax to 1 quart of gelcoat. The first coat of gelcoat does not need the wax since you will apply a second coat. When mixing gelcoat for the second coat, though, don’t forget to add in the wax additive. All Gelcoats from the Bottom Paint Store comes with the MEKP catalyst and wax additive sanding aid, but additional amounts can be purchased. If you don’t add a wax additive to the final coat (or only coat) of gelcoat it will not harden. This is true even if you added the correct amount of catalyst.

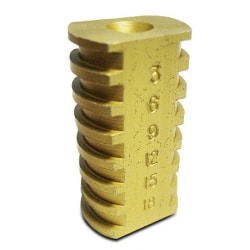
Not enough mils – For best results, apply the gelcoat to a wet film thickness of 25 mils. This will result in a cured film thickness of 18-22 mils. As gelcoat cures, it gives off heat in an exothermic chemical reaction. If the gelcoat is applied to thin, it will not reach the temperature needed and will not cure fully. A mil is equal to 0.001″ or one-thousandth of an inch. You can use a Wet film thickness gauge to find the thickness of your wet gelcoat. Press the edge of the gauge into the gelcoat until it touches the surface below. Look at the teeth on the gauge. The gelcoat’s current thickness is measured by noting the highest tooth with film on it and the next highest tooth with no film on it. For example, a mil gauge is labeled 10, 15, 20, 25, 30, and 35 mils. The only teeth with gelcoat on them are 10 and 15. So the gelcoat’s thickness is between 15 and 20 mils.

What’s Next?

Can I apply more gelcoat over uncured gelcoat? No. Applying more gelcoat will not help the first layer cure. Most likely it will need to be removed and reapplied.

What can I try to get the gelcoat to cure? Allow more time. If something wasn’t exactly right, the gelcoat may just take a few days to harden. If it’s not rock-solid in a few days, though, you may have to scrape it off and reapply it.

How can I remove the uncured gelcoat? Acetone on a rag can be used to break down the gelcoat. Use a plastic putty knife to scrape the uncured gelcoat away.

Read More:

Click this link to read How to Apply Gelcoat

Click this link to read Clear Coat My Bass Boat

Teak Oil vs. Teak Sealer – What’s the difference?

Well-maintained teak woodwork is highly prized and teak wood owners want to do everything they can to keep it looking great. However, the market is saturated with many teak products and it can be confusing to know which will work best for you. This article can be your guide to teak oil and teak sealer.

What is teak oil?

Teak oil has been used on boats and teak wood furniture for many years. Teak oils are usually made of tung oil or linseed oil with extra additives mixed in. The oil “feeds” the wood, in a sense, and accentuates the grain and color. Thus, applying oil to the teak gives it a warm and rich look. Many people choose to oil their teak because they like the beauty that oil can bring back. However, teak oil is very high maintenance. Teak Oil does not protect the wood, but it merely recovers the rich appearance that teak wood can offer. This method requires multiple coats of oil and the beautiful finish does not last long. Sunlight and UV rays carbonize the oils, turning the wood finish dark and gray over time. Gradually, the bright and warm look that you worked so hard to attain is lost once again.

What is teak sealer?

Another method of caring for teak wood is using a teak sealer. Sealers are different from oils because they do not “feed” the wood more oils or resins. Instead, they seal in the oils and resins that the existing wood contains while at the same time preventing contaminants and moisture from harming it. Sealer does need to be reapplied nearly as often as oil. It is best to keep a nice coating of teak sealer on the wood by reapplying every year.

Which teak sealer product should I use?

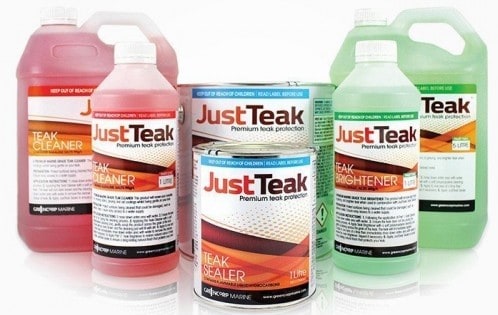
JustTeak™ is a marine-grade teak cleaning system that quickly and easily rejuvenates your teak. It will clean, brighten, and (using a sealer) protect your teak decking and outdoor teak furniture.

Part 1: Teak Cleaner

Renews your valuable teak, removing stains, greying and old coatings, whilst being gentle on your teak.

Part 2: Teak Brightener

Removes light stains and greying. Brightens teak when used in combination with JustTeak™ Teak Cleaner.

Part 3: Teak Sealer

Ensures a beautiful, natural finish that protects your teak from sun, rain, and stains. You will also prolong your teak from turning grey. Teak Sealer can be easily removed with JustTeak™ Teak Cleaner and Teak Brightener when it is time to re-apply.

https://www.youtube.com/watch?v=AYsyG8SMuxY


Save 10% on our Teak Sealer Restoration Kits

What to Use on the Deck of My Boat?

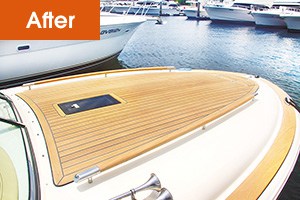
Over the lifetime of any boat there will come a time when the deck needs to be renewed. You have a choice of non-skid additives, or paints that already contain a nonskid compound.  A non skid boat deck helps protect the surface as well as the occupants.

When looking for a non-skid surface you have many options. If your boat floor is currently gelcoat, you can re-gelcoat the surface with or without a non-skid additive. More information about gelcoat application can be found here. Gelcoat is more durable than paint and once a gelcoat surface is painted gelcoat will not adhere.

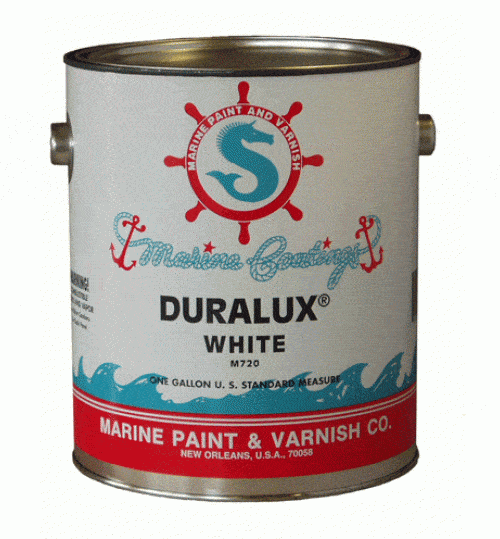
If paint is desired, non-skid can be added to our marine paints by Duralux and Awlgrip. Often an exact match can be found to your hull paint color. Find more topside paint options available and detailed instructions on adding non skid found in our how to section.

Customers painting the floor of a jon boat, frequently use the Aluma Hawk aluminum paint with a non skid additive. This paint serves as a paint and primer in one for your aluminum surface.

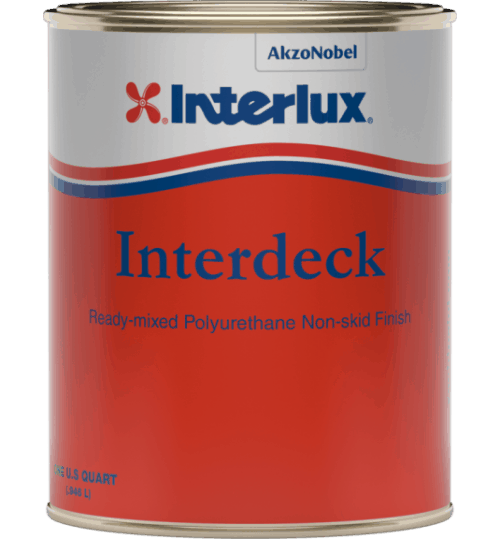
Interdeck boat deck paint is a non-skid deck paint by Interlux and offers an excellent slip resistant finish. It contains a fine aggregate and will apply easily on substrates. Its low sheen finish prevents dazzling that can be reflected by sunlight off decks. Interdeck is also easy to apply and available in numerous colors. The tough polyurethane resin protects decks against everyday wear and tear.

Depending on your paint choices, follow the manufacturers application instructions whether applying to aluminum, fiberglass, or wood to ensure best adhesion and slip resistance.

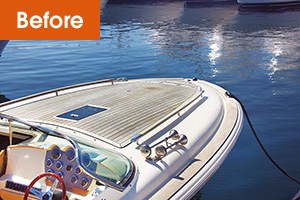
For cleaning the teak on your boat deck, JustTeak™ is a marine-grade teak cleaning system is designed to rejuvenate your teak quickly and easily. JustTeak™ will clean, brighten, and once sealed protect your teak decking. We have an application instructions video How to clean and protect the teak on your boat.

Antifouling Paint or Prop Glide for Outdrives?

Which method of protective propeller coating is best for your boat? While there is no right or wrong solution, there are a few things to consider before making your decision.

Important questions to ask:

  1. Do you haul and repaint your boat every year?
  2. Does the prop see regular use?

Antifouling Paint – If you answered NO to the second question, you will likely be better off with traditional antifouling paint protecting your outdrive. Slick film coatings need to see regular use in order to repel fouling successfully. And if you answered YES to the first question, the additional cost of slick film coatings may not be worth it for you.

Which antifouling products are recommended for outdrives? Here are two good options.

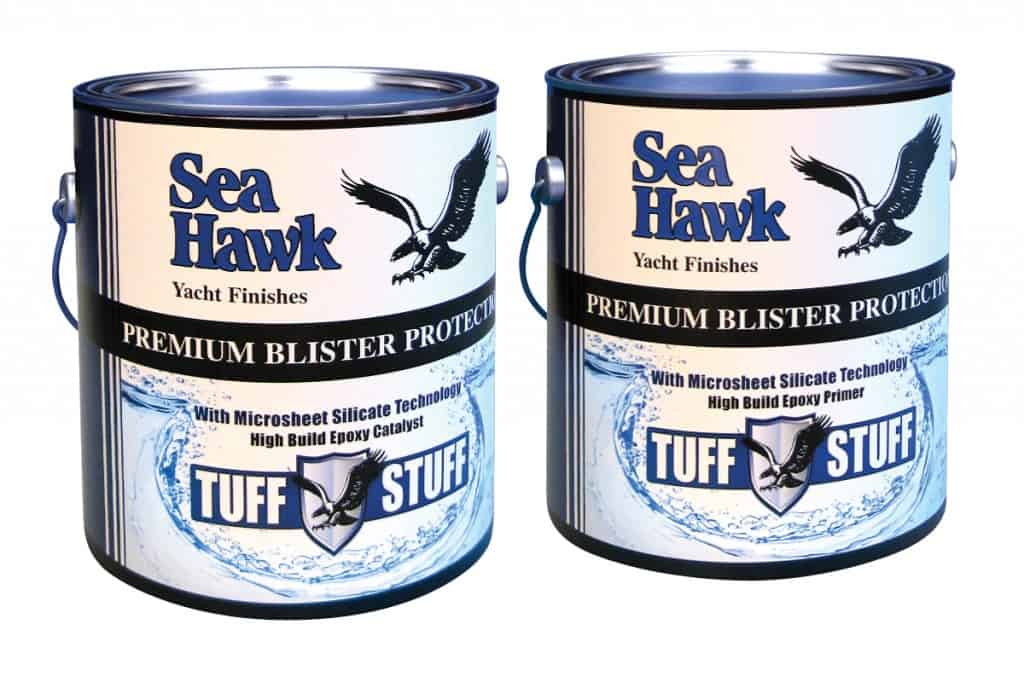
Option 1 – Apply Tuff Stuff epoxy primer (or similar primer) direct to the metal. Paint over with a copper free bottom paint such as Colorkote. (It is very important to only use a copper-free bottom paint. Copper-based paints on underwater metals will experience galvanic corrosion.) This option guarantees the best protection and longest lasting coverage, but the paint will need to be recoated each season depending on prop usage.

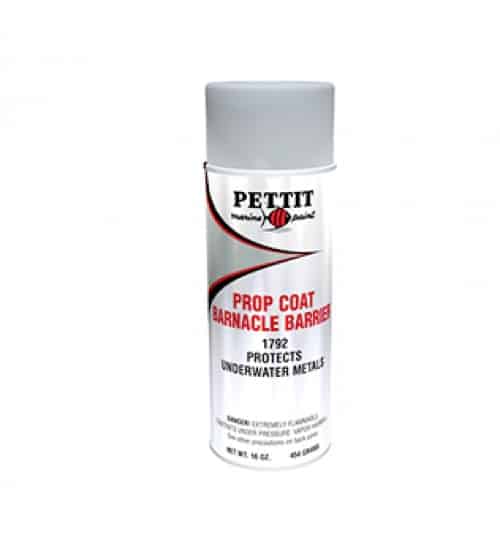
Option 2 – Apply an aerosol underwater metal coating such as Barnacle Blocker or Pettit Barnacle Barrier. These are relatively inexpensive coatings that could provide a large amount of pay off.

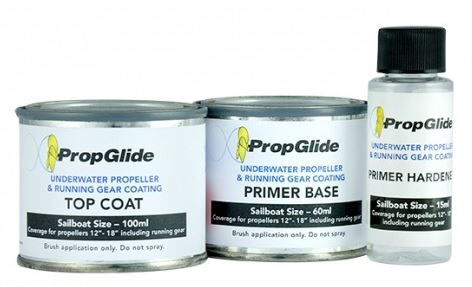
PropGlide™ Propeller and Running Gear Coatings – If you answered YES to the second question above then you may want to give foul-release systems a try. These are non-toxic, slick coatings that prevent growth from attaching itself to the prop and running gear, thus improving your boat speed and fuel efficiency. It is important to note that for PropGlide to keep its slick quality and repel fouling, the prop needs to see regular use. Without the pesticide coatings of traditional bottom paint, a stationary prop is an easy target for barnacles and other organisms. While slick film coatings may not be the solution for all boaters, many have tried it and had great success. Note what some PropGlide users have stated below.

“For over a year, we at the Big Boat Shed ship repair and storage yard for vessels up to 60ft have been trialing out PropGlide. We have found it very user friendly and has a better finish when compared to its competitors. With our tropical humid conditions we could not have asked for a better drying time then what PropGlide offers. This allows us to plan prepare and execute any prop coating task with PropGlide such a breeze. PropGlide is now our main recommended brand for propeller and running gear antifouling coatings.” 3/8/2017

“We applied PropGlide to the propellers and rudders on our 42′ power catamaran in March 2016. We have found excellent results so far with very little growth appearing on the running gear. We have been able to maintain great boat speed, excellent economy and no vibrations unlike previous years with using other products. Our Applicator has even commentated how much easier PropGlide is to apply compared to its competitors.” Mick Malone 9/28/2016

Click this link to compare the price of Propspeed kits and PropGlide™ Propeller Paint Kits.
Click this link to read about Painting an Aluminum Outdrive