
Repairing a hole on the side of your boat is possible by following this guide and using epoxy resins for wooden boats.
Begin by inspecting the hole for any cracks that extend away from the
hole and clearly mark the entire area that needs to be patched. You want to be sure to extend your mark out beyond the damaged area by a few inches.
Cut the marked area with a hand saw making sure the hole is beveled in order to allow layers of fiberglass to fill the hole. Measure the thickness of the hull substrate and multiply it by 10. This is the distance from the hole edges that the bevel needs to accommodate.
Use a power sander with a 50 grit sanding disc to bevel from the whole edge out to your mark. Fiberglass layers are going to be placed on the outside of the hull. Use a flat backing on the inside of the hole to keep the wet fiberglass cloth from caving into the hole.
Next cut six pieces of fiberglass bi-axle cloth with the first piece being the size and shape of the outer edge of the bevel. The final sixth piece being the size of the hole itself. Remember it is important to use fiberglass bi-axle cloth for hole repairs.
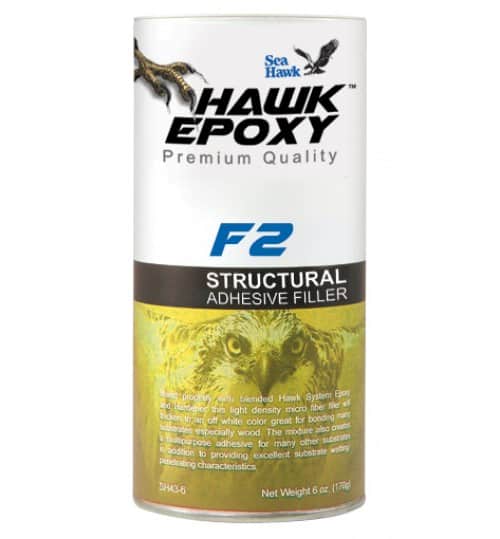
Wet out the beveled area of the hole with a mixed epoxy. Lay the cut fiberglass bi-axle cloth on a piece of plastic going from large to small pieces. Make sure to wet each piece as you place them on top of the next piece. When wetted out properly the bi-axle cloth will become transparent. Put the wet out pile of fiberglass bi-axle cloth into a piece of peel ply, with the small pieces down. Next, mix the Hawk epoxy f2 filler and hawk epoxy resin catalyst until you reach a soft butter consistency.
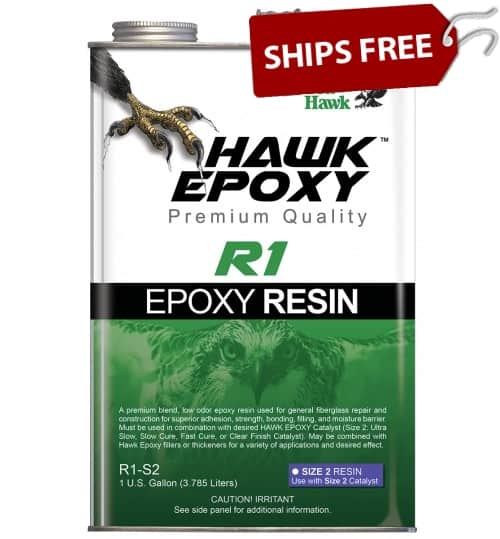
Brush this mixture onto the beveled area of the hull and be sure to center your filler. Wipe off any extra leftover epoxy from the hull, squeegeeing out the air pockets and wiping with a clean cloth that has been dampened with solvent. This will be a lot easier than sanding it off later. Allow the patch to cure for the recommended cure time (overnight is typically sufficient) per the instructions on the hawk epoxy resin can label.
Once it has cured, remove the repair area backing on the inside of the hull. The repair area on the inside of the hull can be left untreated if it will not be exposed to sunlight. Remove blush with soap and water. Next sand off any rough areas on the outside of the hull with 80 grit sandpaper and then sand with 100 grit sandpaper the entire repair area so it is completely smooth (this may require a disc sander if it’s too difficult to sand by hand). You can dust off the area a clean cloth, air gun or brush it off with a clean brush.
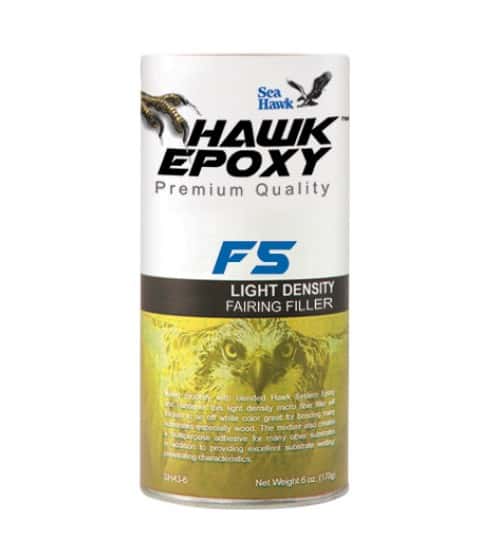
Prepare a batch of Hawk epoxy resin and catalyst. Apply coats to the repair area with wet epoxy, with the remainder of the Hawk epoxy resin mixed in the Hawk epoxy f5. Lightly mix filler until density is a medium thickness
with no sag consistency.
Next, spread the mixture onto the repair area and squeegee the area until as smooth as possible. Allow the area to cure until you can push the corner of the squeegee into the surface and only a slight indentation remains. Repeat the process with Hawk epoxy mixed resin and f5 light density filler, adding another coat of this mixture onto the repair area. Let this cure for 10 to 12 hours.
Remove the blush with soap and water and sand the repair area with a smooth 80 grit sandpaper.
To add color, mix another small batch of Hawk epoxy and introduce the liquid dispersion as this will seal and fill any low areas. Now that you have a strong and
sturdy hull side you are ready for paint!