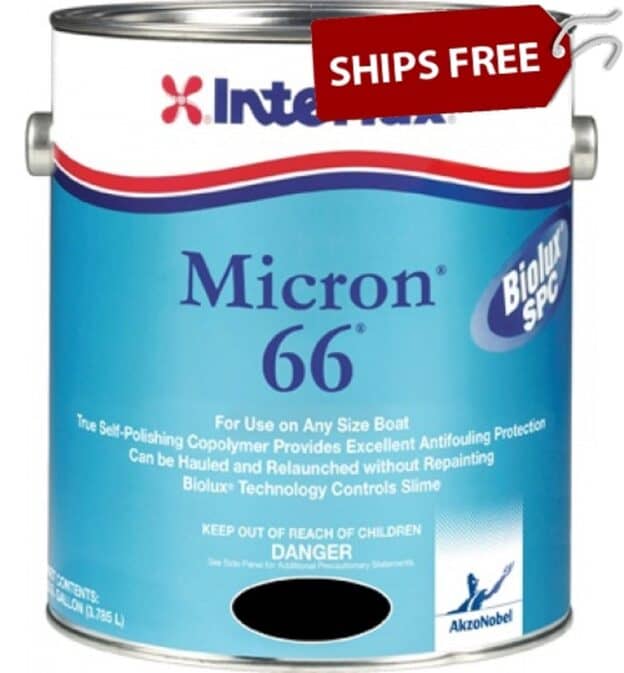
So, you’ve decided to spruce up your boat and give it a fresh coat of paint? Congratulations! You’ve made an excellent decision. But before you get started, let’s go over the basics of how to properly use Interlux bottom paint so that you can ensure a beautiful, long-lasting finish.
First things first—you will need to gather all the necessary supplies and materials for the job. These include a good quality boat paint (Interlux makes some great options), a brush or roller, sandpaper, primer, and other necessary materials such as tape and drop cloths. Once you have everything you need, it’s time to get down to business!
Start by sanding the entire surface of your boat with medium-grit sandpaper. This will help create a smooth surface for the paint to adhere to. Next, wipe down the area with water and detergent or acetone before rinsing thoroughly with clean water. Now it’s time for priming! Primer helps create an even basecoat that will provide extra protection against corrosion and abrasion from saltwater or other elements. Allow the primer to dry completely before moving on to painting your boat with Interlux bottom paint.
Interlux bottom paints are designed specifically for boats and are formulated with exceptional durability in mind—so make sure you follow their instructions carefully. Generally speaking, painting should be done in thin layers from top to bottom in order to avoid drips or runs in the paint job. Once each layer is dry (be sure not to rush this step!), apply another thin layer until the desired color is achieved. Finally, allow the paint ample time to cure before taking your boat out on its maiden voyage!
Final thoughts
With these tips in mind, painting your boat with Interlux bottom paint can be an easy and enjoyable experience. Remember—take your time throughout each step of the process so that you can achieve a beautiful finish that lasts for years! Happy boating!

