If you’re a boat enthusiast, you know that there’s nothing quite like the feeling of cruising out on the open water. But what do you do when your beloved vessel starts to show signs of wear and tear? If you have a fiberglass boat, you’re in luck. In this blog post, we’ll walk you through everything you need to know about repairing your fiberglass boat, from small cracks to large holes. So, whether you’re a seasoned pro or a complete novice, read on for our step-by-step guide on how to repair a fiberglass boat.
KEY TAKEWAYS
- Clean the Area
The first step in boat fiberglass repair is to clean the area that needs to be repaired. This step is important because it will allow the repair materials to bond properly with the existing fiberglass. Use a mild soap and water solution to clean the area, and then dry it thoroughly with a clean cloth. - Cut Out the Damaged Area
Once the area is clean, use a sharp knife or razor blade to cut out the damaged area. Be sure to cut away any loose or damaged fiberglass so that you have a clean, smooth surface to work with. - Apply the Repair Material
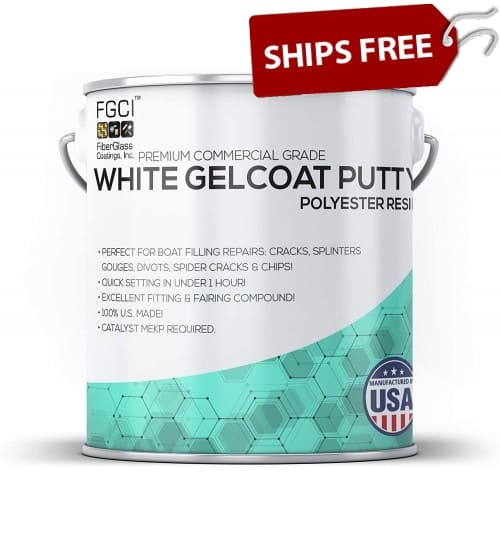
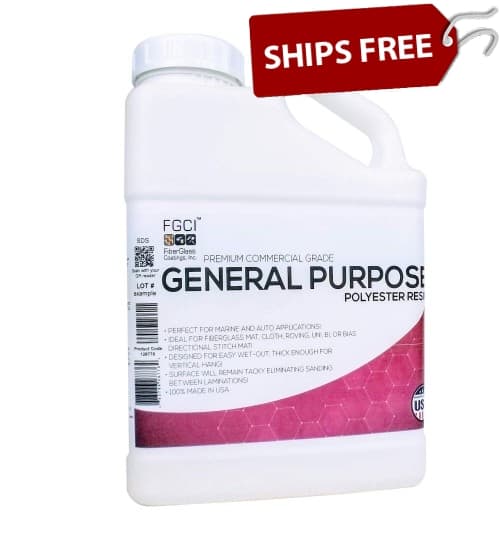
There are a variety of repair materials that can be used for boat fiberglass repair. The type of material you use will depend on the size and severity of the damage. For small repairs, you can use a fiberglass repair kit; for larger repairs, you may need to use a sheet of fiberglass cloth and some resin. Follow the instructions that come with your chosen repair material to apply it to the damaged area.
Repairing Small Cracks and Scratches
One of the most common problems that boat owners face is small cracks and scratches in the hull. While these may not seem like a big deal at first, they can quickly turn into larger problems if left unaddressed. The good news is that small cracks and scratches are relatively easy to fix with some basic supplies.
Here’s what you’ll need:
-Fiberglass cloth
-Resin
-Hardener
-Sandpaper
-Putty knife or spreader
-Measuring cup
-Gloves
-Eye protection
Once you have all of your supplies, follow these steps to repair small cracks and scratches in your fiberglass boat:
- Clean the area around the crack or scratch with sandpaper to rough up the surface and allow the resin to adhere better.
- Cut a piece of fiberglass cloth to size and lay it over the crack or scratch.
- Mix together the resin and hardener in a measuring cup, according to the application guidelines.
- Use a putty knife or spreader to apply the resin mixture over the fiberglass cloth, making sure to work it into any crevices.
- Allow the resin to cure for 24 hours before sanding down any excess material.
- Your fiberglass boat is as good as new!
Fixing Large Holes in Fiberglass Boats
While small cracks and scratches are relatively easy to fix, large holes can be much more challenging—but not impossible! With some patience and elbow grease, you can patch up even the biggest holes in your fiberglass boat hull. Here’s what you’ll need:
-Fiberglass cloth
-Resin mixture (resin and hardener)
-Putty knife or spreader -Sandpaper -Measuring cup -Gloves -Eye protection -Plywood (optional)
Follow these steps to repair large holes in your fiberglass boat hull:
- If necessary, use plywood to create a temporary patch for the hole until the resin has cured. This will help keep water out of the hole while you’re working on it.
- Cut a piece of fiberglass cloth to size and lay it over the hole.
- Use a putty knife or spreader to apply the resin mixture over the fiberglass cloth, making sure to work it into any crevices.
- Allow the resin to cure for 24 hours before sanding down any excess material and removing any plywood patches.
- Your fiberglass boat is as good as new!
Conclusion:
No matter how experienced you are as a boat owner, sooner or later you’re going to need to make some repairs—and if you have a fiberglass boat, that means getting familiar with some basic repair techniques. In this blog post, we’ve walked you through everything you need to know about repairing small cracks and scratches, as well as large holes in your hull. So, whether you’re dealing with cosmetic damage or something more serious, now you know how to fix it!
If you have any questions about how to repair your fiberglass boat, please feel free to reach out to the Bottom Paint Store technical assistance team by phone at 888-505-2313, or via Live Chat found on the website. We have a wide selection of fiberglass and gelcoat putties, resins, restoration solutions, repair kits, and tools/materials.