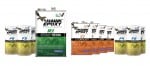
Ahoy there, fellow seafarers! Are you ready to sail the high seas with style and pizzazz? Selecting the right marine paint is critical to the appearance, longevity, and performance of a boat. Marine paint not only adds an aesthetic appeal to the boat but also protects the hull from environmental elements such as water, sunlight, and salt. It can also help reduce the drag and improve fuel efficiency of the boat.
When choosing marine paint, there are several factors to consider such as the type of paint, the water conditions in which the boat will be used, the type of hull material, the application method, and the expected maintenance. These factors can affect the durability and effectiveness of the paint, as well as the overall appearance of the boat. So, don’t be like a sailor who forgot to batten down the hatches – take the time to select the right boat paint. Your boat (and your reputation as a savvy boater) will thank you.
KEY TAKEAWAYS
- Choosing the right marine paint is important for both the appearance and protection of your vessel.
- There are different types of marine paints, such as antifouling paint, topside paint, and bottom paint, each with its own purpose and application.
- When selecting marine paint, it’s important to consider factors such as water conditions, hull material, and application method.
- Proper application of marine paint is crucial for achieving a smooth, even finish and ensuring the paint lasts as long as possible.
- Maintaining your boat paint with regular cleaning and touch-ups can help preserve the value of your vessel and keep it looking great.

Types of marine paints
There are several types of marine paints available in the market, each designed for a specific purpose. Here are some of the most common types of boat paints:
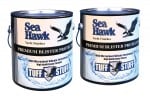
Antifouling paint – Antifouling paint is designed to protect the hull of the boat from the growth of marine organisms, such as algae and barnacles. It contains biocides that inhibit the growth of these organisms, preventing them from attaching to the hull. Antifouling paint is best used in saltwater or brackish water environments.
Topside paint – Topside paint is used to protect the upper part of the boat above the waterline. It can be used on the deck, cabin, and other areas exposed to sunlight and harsh weather conditions. Topside paint comes in a variety of finishes, from matte to glossy, and can be customized to match the desired look of the boat.
Bottom paint – Bottom paint is designed to protect the hull of the boat below the waterline. It prevents the growth of marine organisms, such as barnacles and mussels, which can cause drag and reduce the boat’s performance. Bottom paint is best used in saltwater or freshwater environments.
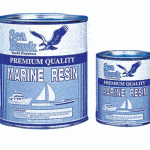
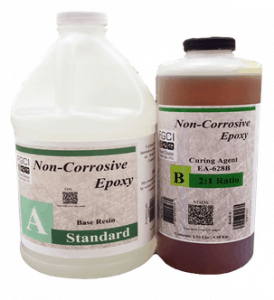
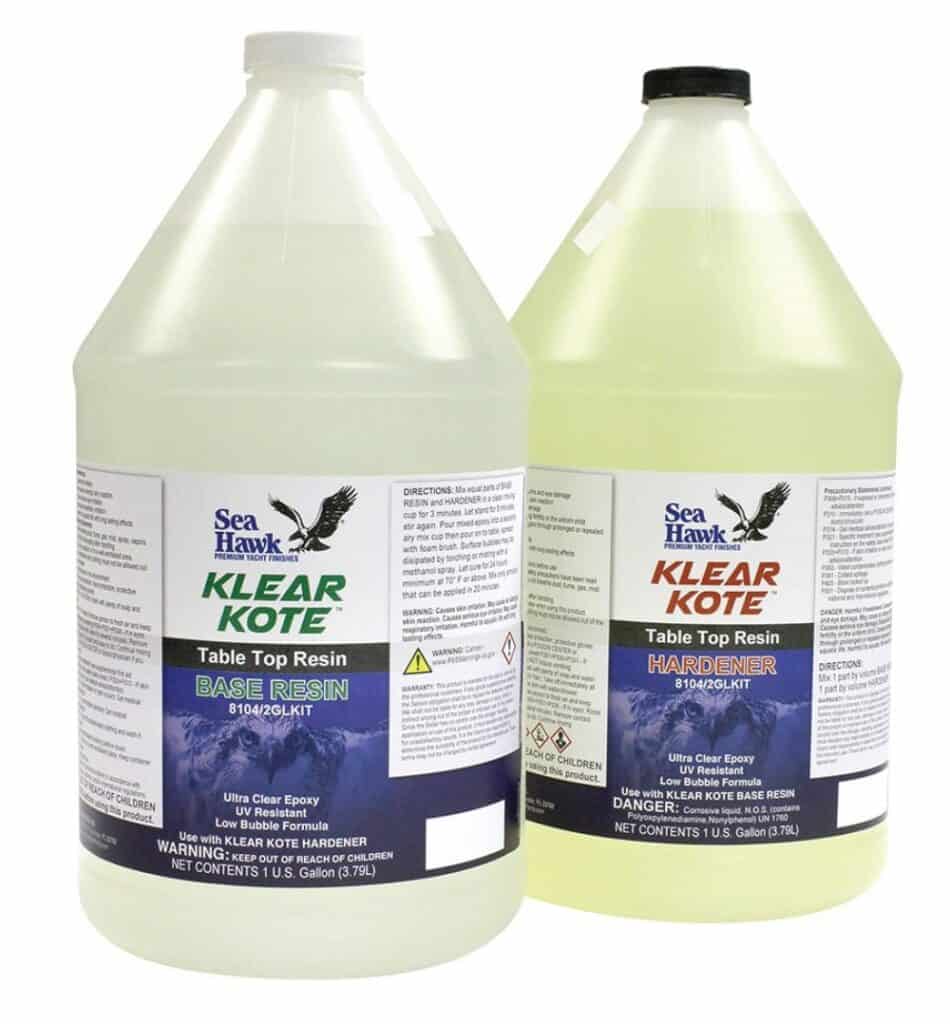
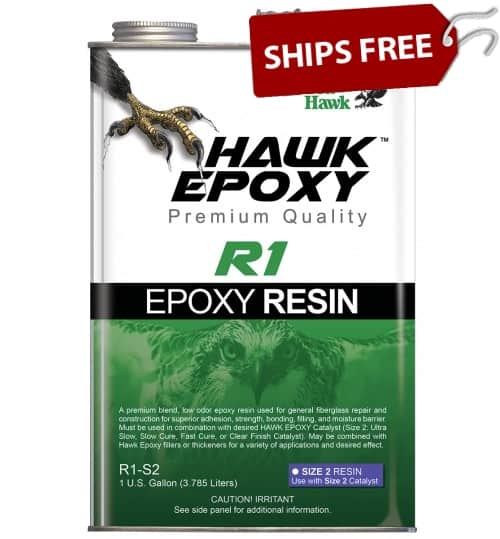
Epoxy paint – Epoxy paint is a two-part paint system that is highly durable and resistant to water, chemicals, and abrasion. It is commonly used as a primer or barrier coat to protect the hull from moisture and corrosion. Epoxy paint can also be used as a topcoat for added protection and a glossy finish.
Varnish – Varnish is a clear, protective coating used to enhance the natural beauty of wood on the boat. It provides UV protection, moisture resistance, and durability to the wood, making it last longer and maintain its appearance.
The type of marine paint to use depends on the intended use of the boat and the environmental conditions in which it will be used. For example, antifouling paint* is best used in saltwater environments to prevent marine growth, while topside paint can be used to enhance the boat’s appearance and protect it from UV rays. Bottom paint is ideal for boats that spend a lot of time in the water, while varnish is suitable for boats with wooden surfaces that need protection and a glossy finish.
Factors to consider when selecting marine paint
When selecting the right marine paint, there are several factors that should be taken into account. Here are some of the most important factors to consider:
Water conditions – The type of water in which the boat will be used is a critical factor to consider when choosing boat paint. Saltwater, freshwater, and brackish water each have different environmental conditions that can affect the performance and durability of the paint. Saltwater, for example, can be corrosive and requires a more durable paint that can withstand the harsh environment.
Hull material – The material of the boat’s hull is another important factor to consider when selecting boat paint. Different types of paint are designed to adhere to specific materials, such as fiberglass, aluminum, or wood. It’s important to choose a paint that is compatible with the hull material to ensure proper adhesion and maximum protection.
Application method – The application method of the paint can also affect the final appearance and performance of the paint. Some types of paint, such as epoxy paint, require a specific application method, while others, such as topside paint, can be applied using a brush, roller, or spray. It’s important to choose a paint that can be applied using the desired method and to follow the manufacturer’s instructions for the best results.
Expected maintenance – The expected maintenance of the boat paint is another factor to consider when selecting boat paint. Some types of paint, such as antifouling paint**, require more frequent maintenance, such as cleaning and touch-ups, to maintain their effectiveness. It’s important to choose a paint that fits your maintenance schedule and skill level.
Tips for evaluating these factors and making an informed decision
Consult with a professional or a trusted boat maintenance expert, such as Bottom Paint Store, to help you evaluate the different factors and choose the right boat paint for your needs. offers free technical assistance.
Research different brands and types of marine paint to compare their performance, durability, and cost-effectiveness.
Check the manufacturer’s recommendations and application instructions to ensure compatibility with your boat’s hull material and the intended application method.
Consider the expected lifespan of the paint and the frequency of maintenance required to ensure the paint remains effective.
Finally, remember that selecting the right marine paint is an investment in the long-term performance and appearance of your boat, so take the time to make an informed decision.
Applying marine paint
Properly applying marine paint is crucial to achieving a smooth, durable finish that protects your boat from the harsh marine environment. Here’s why it’s important and how to do it:
A proper application ensures the paint adheres to the surface and forms a protective barrier against the elements.
Applying paint unevenly or too thinly can result in a weak bond that can crack, peel, or fade prematurely.
Proper application also ensures the paint dries evenly and maintains its color and gloss for longer.

Step-by-step instructions for applying marine paint
Surface Preparation: Before applying any paint, clean the surface thoroughly to remove any dirt, grease, or other contaminants. Sand the surface to create a rough texture that promotes adhesion.
Primer: Apply a primer to the surface to promote adhesion and provide a smooth base for the paint. Allow the primer to dry completely before applying the paint.
Application: Apply the paint using a brush, roller, or spray gun, depending on the type of paint and the desired finish. Apply the paint in thin, even coats, and avoid overloading the brush or roller.
Drying: Allow each coat to dry completely before applying the next coat. Follow the manufacturer’s instructions for the recommended drying time between coats.
Sanding: Sand the surface lightly between coats to create a smooth texture and promote adhesion.
Final Coat: Apply the final coat of paint using the same technique as the previous coats. Allow the final coat to dry completely before using the boat.
Tips for achieving a smooth, even finish:
Use high-quality paint and tools to achieve a professional-looking finish.
Apply the paint in thin, even coats to prevent runs and drips.
Avoid painting in direct sunlight or high humidity to prevent the paint from drying too quickly or not drying properly.
Follow the manufacturer’s instructions for the recommended number of coats and drying time between coats.
Sand the surface lightly between coats to create a smooth texture and promote adhesion.
Use a high-quality brush or roller to ensure the paint goes on evenly.
Keep the paint mixed well to maintain consistency throughout the application process.
Maintaining marine paint
Properly applying marine paint is crucial to achieving a smooth, durable finish that protects your boat from the harsh marine environment. A proper application ensures the paint adheres to the surface and forms a protective barrier against the elements. Applying paint unevenly or too thinly can result in a weak bond that can crack, peel, or fade prematurely. It also ensures the paint dries evenly and maintains its color and gloss for longer.
Where to buy marine paint
In summary, choosing the right marine paint is essential for protecting your vessel from the harsh marine environment and ensuring it looks its best. Factors like water conditions, hull material, and application method should all be taken into account when selecting the right paint for your boat. Once you’ve chosen the right paint, be sure to apply it properly to achieve a smooth, even finish. And remember, a well-maintained paint job not only looks great but can also help preserve the value of your boat.
So, don’t be like a bad paint job – sloppy, uneven, and ultimately disappointing. Take the time to select the right paint and apply it properly. Your boat (and your wallet) will thank you. Bottom Paint Store has a huge selection of marine paint at discounted prices and if you need technical assistance, feel free to contact us Monday to Friday 9am-5pm EST 888.505.2313.
Source:
*Wikipedia Anti-fouling paint
** Marine fouling and its prevention ; prepared for Bureau of Ships, Navy Dept.
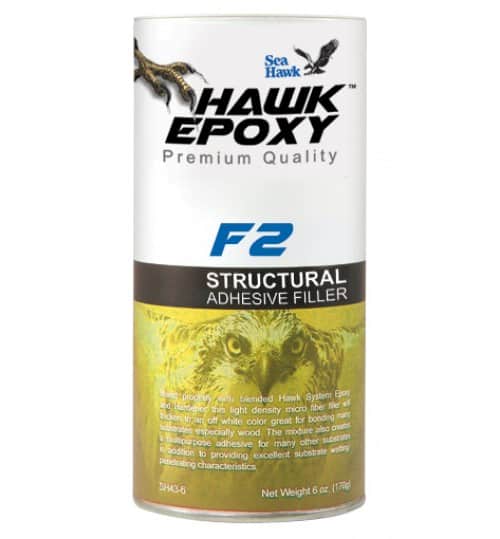
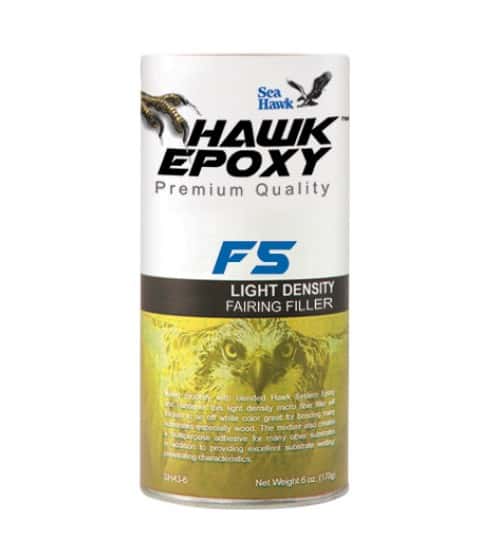
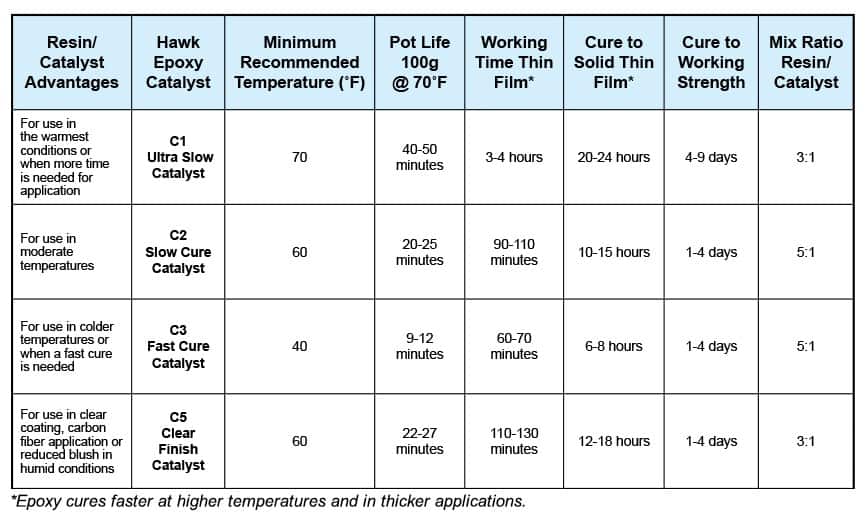
 What is the best way to achieve maximum adhesion when replacing your boat’s hardware? This How To article will give you the basic knowledge you need to get your repair done correctly.
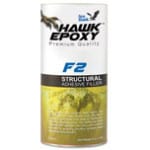
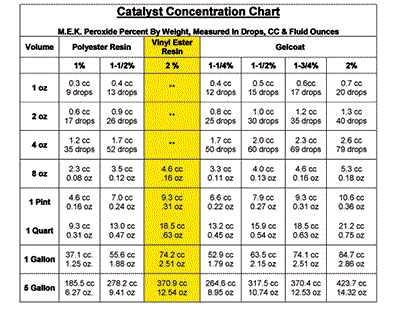
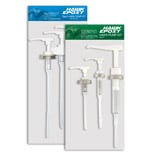 The Pump Kits come in two sizes, one kit accommodating the Size 1 and 2 Resin and Catalysts, and one kit accommodating the Size 3 Resin and Catalysts. Be sure to get the right size kit for the amount of resin and
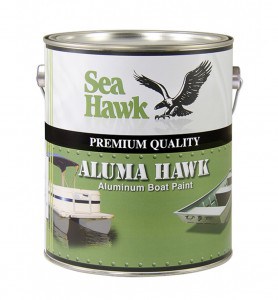
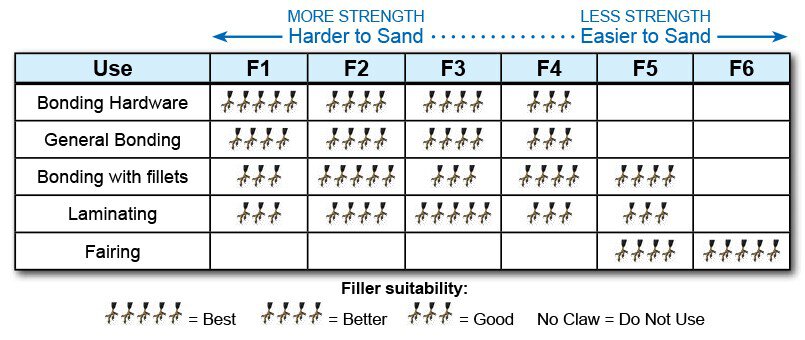
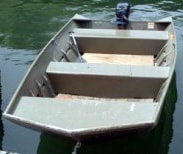 How to Fix a Leaking Seam or Rivet on Aluminum Boat