Keeping your boat’s engine in tip-top shape is key to making sure it runs like a dream and lasts a long time. One job you can’t skip is descaling the engine—getting rid of all those pesky mineral deposits that build up over time. This guide will show you how to descale your engine, step by step, nice and easy. Plus, we’ll give you some pointers on picking the right eco-friendly descaler that also happens to be highly effective. Let’s dive in!
Why Descale Your Boat’s Engine?
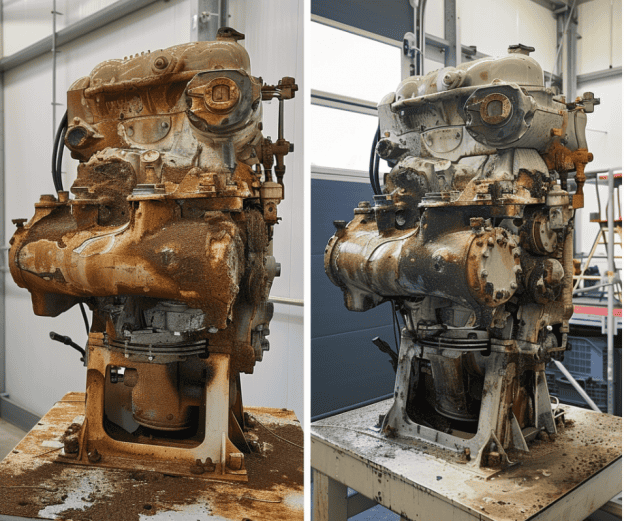
Mineral deposits, primarily calcium, and lime, can build up inside your boat’s engine cooling system, leading to reduced efficiency, overheating, and potential engine damage. Regular descaling helps maintain optimal performance and prevents costly repairs.
Choosing the Right Descaler
When selecting a marine descaler, consider the following factors:
Compatibility: Ensure the descaler is suitable for your engine type (inboard, outboard, or sterndrive).
Effectiveness: Look for products with proven results in dissolving mineral deposits.
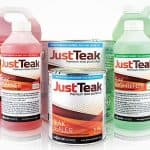
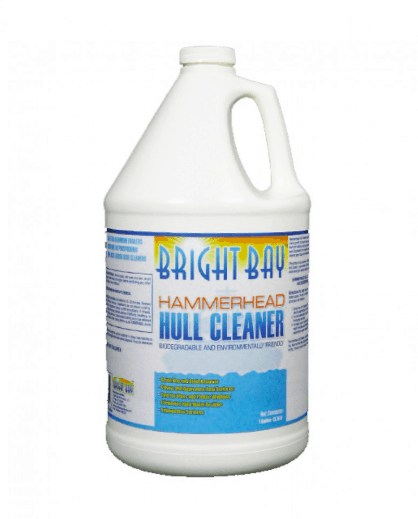
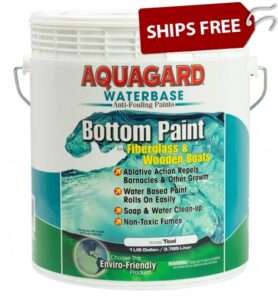
Environmental Impact: Look for eco-friendly descalers that are biodegradable and non-toxic such as Hammerhead Marine Descaler by Bright Bay.
Ease of Use: Choose a product with clear instructions and easy application methods.
Safety Precautions
Before you start descaling, keep these safety tips in mind:
Read Instructions: Carefully read the descaler’s label and instruction manual.
Protective Gear: Wear gloves, safety glasses, and protective clothing to avoid skin and eye contact with the descaler.
Ventilation: Ensure you work in a well-ventilated area to avoid inhaling fumes.
Engine Off: Always descale with the engine turned off and cooled down to prevent accidents.
Step-by-Step Descaling Guide
Step 1: Gather Your Materials
- Marine descaler
- Bucket
- Hose
- Funnel
- Protective gear (gloves, safety glasses, protective clothing)
- Screwdriver or wrench (if needed for access)
Step 2: Prepare the Engine
Cool Down: Ensure the engine is turned off and has cooled down completely.
Disconnect Battery: For added safety, disconnect the boat’s battery to prevent any electrical hazards.
Step 3: Access the Cooling System
Locate Inlet/Outlet Hoses: Identify the inlet and outlet hoses of the engine’s cooling system.
Disconnect Hoses: Use a screwdriver or wrench to carefully disconnect the hoses. Place the ends in a bucket to catch any remaining water.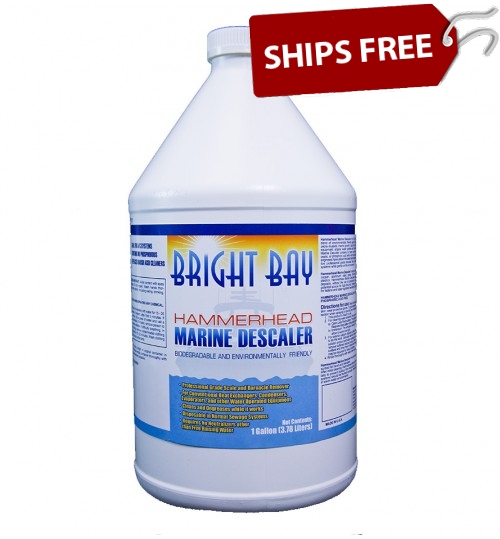
Step 4: Prepare the Descaler Solution
Dilute Descaler: Depending on the product instructions, dilute the descaler in a bucket with water if necessary.
Mix Thoroughly: Ensure the solution is well-mixed and ready for use.
Step 5: Introduce the Descaler Solution
Attach Funnel to Inlet Hose: Securely attach a funnel to the inlet hose of the cooling system.
Pour Descaler Solution: Slowly pour the descaler solution into the cooling system through the funnel.
Let It Sit: Allow the solution to sit in the cooling system for the recommended time, usually between 30 minutes to an hour.
Step 6: Flush the System
Reconnect Hoses: Reattach the inlet and outlet hoses securely.
Flush with Fresh Water: Use a hose to flush fresh water through the cooling system, ensuring all descaler and dissolved deposits are thoroughly rinsed out.
Check for Leaks: Inspect all hose connections for any leaks and tighten if necessary.
Step 7: Final Steps
Reconnect Battery: Reconnect the boat’s battery.
Test the Engine: Start the engine and let it run for a few minutes to ensure proper operation and no remaining blockages.
Dispose of Waste: Dispose of any used descaler solution and water according to local environmental regulations.
Conclusion
If you want your boat’s engine to run smoothly and last longer, you’ve got to descale it regularly. It’s as simple as that. Follow this step-by-step guide, and you’ll be able to descale your engine


 II. Apply Awl-Wash Primer CF (
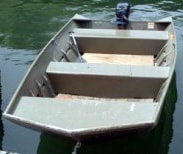 How to Fix a Leaking Seam or Rivet on Aluminum Boat
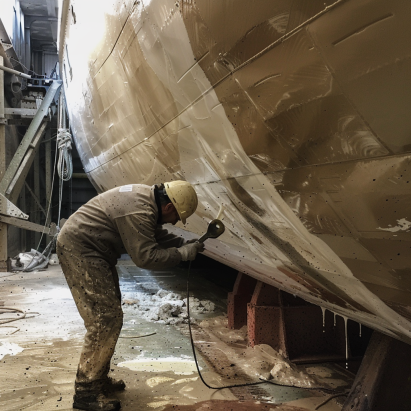
 Make sure the blisters are thoroughly drained and grind them deep enough to remove any damaged material beneath the gelcoat. Increase size of ground area as needed until all the laminate around the blister is sound. Clean the entire area and allow it time to dry.
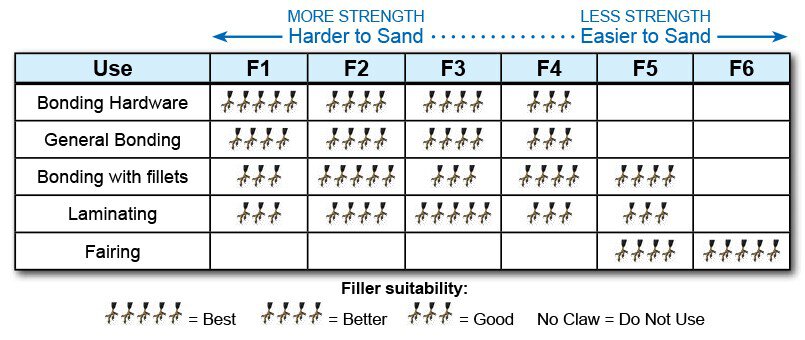
 The filler recommended for blister repair is F6 MicroSphere Fairing Filler.

 Awlcare
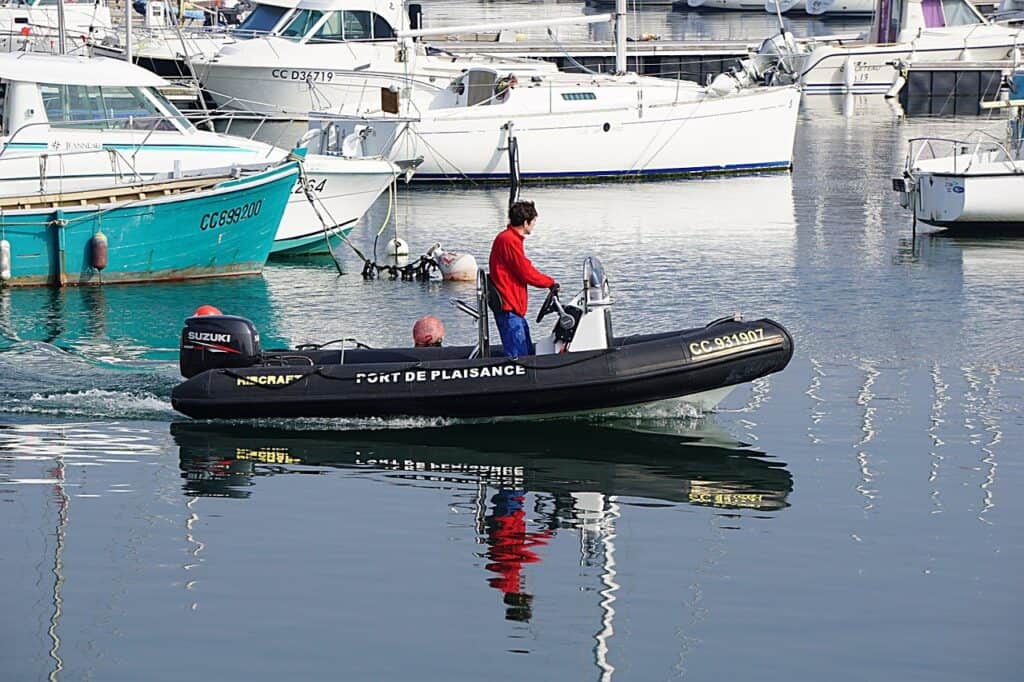
 We recommend a Hammerhead Marine Descaler Flush every 100 hours, or twice a year for any engine running in warm, calcium rich waters. This is a revolutionary change to outboard marine engine maintenance which has come about through Bright Bay’s next generation chemistry. Only