Last Updated: February 17, 2026
Quick Recommendation
How to Get Strong Hardware Adhesion with Hawk Epoxy
- Prep the surface properly: Clean thoroughly, remove old sealant, and sand to create a strong mechanical bond.
- Dry-fit hardware first: Confirm alignment before mixing epoxy to avoid rushed adjustments.
- Seal fastener holes: Over-drill, fill with epoxy, and re-drill to prevent moisture intrusion into the core.
- Bottom line: Long-lasting hardware adhesion depends on proper surface prep, moisture control, and correct epoxy application.
Tip: Allow full cure time before loading hardware—premature stress can weaken the bond.
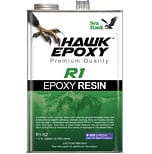 What is the best way to achieve maximum adhesion when replacing your boat’s hardware? This How To article will give you the basic knowledge you need to get your repair done correctly.
Note: Before attempting a repair by yourself, get a professional opinion. Always wears Personal Protective Equipment when sanding or working with chemical compounds!
Here are some simple steps to follow when bonding hardware to your boat:
- Sand both the surface and the hardware to get maximum adhesion.
- Wet out the surface with Hawk Epoxy.
- Wait a few minutes for it to soak in.
- Wet out the Hardware base with Hawk Epoxy.
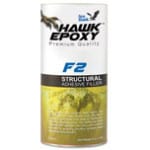
- Mix another batch of Hawk Epoxy with F2 Structural Adhesive Filler.
- Coat the hardware base, screw threads, and surface mount with the epoxy/filler compound.
- Tighten hardware bolts until some epoxy mixture squeezes out.
- Use your finger to fillet the excess mixture around the hardware base for extra strength.
- Before using the hardware, allow the bond to cure overnight.
Hawk Epoxy Video Tutorial
For more information see these other How To Articles:
How Do I Choose Hawk Epoxy Catalyst and Fillers?
How to Mix Hawk Epoxy Resin Properly
Link to this post!