Category Archives: Boat Maintenance

How to Clean, Restore, and Seal Teak Wood on Your Boat

Last Updated: January 30, 2026

Quick Recommendation

How to Clean, Restore, and Seal Teak Wood on a Boat

  • For routine cleaning: Use a mild teak cleaner and a soft brush to remove dirt and mildew without stripping natural oils.
  • For weathered or gray teak: Clean first, then apply a teak brightener to restore color before sealing.
  • For long-term protection: Finish with a teak sealer or oil to slow UV damage and moisture absorption.
  • Bottom line: Teak lasts longest when it’s cleaned gently, brightened only when needed, and sealed regularly.

Tip: Avoid aggressive sanding and harsh two-part cleaners—they can shorten the life of your teak by removing too much material.
Just Teak Restoration KitsTeak wood is an excellent material for boat decks, furniture, and trim. However, to keep it in good condition and enhance its beauty, it needs regular maintenance. Applying teak oil is one of the best ways to protect teak wood from drying out, fading, and

Restoring your weathered teak wood is an easy 3 step process using the  JustTeak™ Teak Restoration Kits. Learn how to clean, brighten, and seal your teak or other wood. This simple teak restoration process can be used on an teak wood including teak furniture and teak decking.

Step 1 (Part 1). Cleaning Teak Wood with the JustTeak™ Teak Cleaner
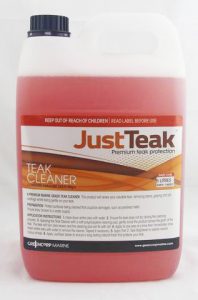
 JustTeak™ Teak CleanerGetting the teak clean is the first step in the process. You need a really effective cleaner that will not harm the wood. You should not use any bleach. All weathered teak should be first be cleaned with JustTeak™ Teak Cleaner.

1. Hose down entire areas thoroughly with fresh water. Ensure the teak does not dry during the cleaning process.
2. Applying the JustTeak™ Teak Cleaner with a soft polypropylene cleaning pad, gently scrub the product across the grain of the teak. The teak will tum dark brown and the cleaning pad will fill with dirt.
4. Apply to one area at a time then immediately rinse down entire area with water to remove the cleaner. Repeat if necessary. 


Step 2. (Part 2) Using  JustTeak™ Teak Brightener
on Your Teak Deck
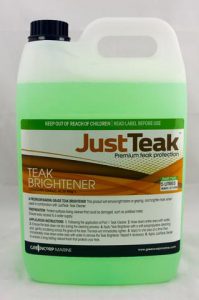
Just Teak Teak Brightener JustTeak™ Teak Brightener is the answer to dull, gray teak. Specifically designed to restore light beautiful look of new teaks.
– Brightens Teak Dulled by Weather and Wear
– Won’t Raise the Grain
– Contains No Bleach
– Cleans Away Discoloration in the Deck

1. Following the application of Part 1: JustTeak™ Teak Cleaner.
2. Hose down entire area with water.
3. Ensure the teak does not dry during the cleaning process.
4. Apply JustTeak™ Teak Brightener  with a soft polypropylene cleaning pad, gently scrubbing across the grain of the teak. The teak will immediate lighten.
5. Apply to one area at a time then immediately rinse down entire area with water to remove the Teak Brightener. Repeat if necessary.


Step 3. Application of JustTeakTeak Sealer

JustTeak Teak SealerJustTeak™ Teak Oil Sealer is designed to seal and protect teak. Restores and protects teak and other woods. Easy to use and extra long lasting formula.
– Easy to Use
– Extra Long Lasting
– Restores and Protects Teaks and Other Woods
– Adds Luster and Beauty to Your Deck

1. For best results apply in temperatures above 10°C (50°F) on a sunny, low humidity day, ensuring the teak is dry. Shake vigorously prior to use. This product must be shaken periodically whilst using to ensure even colouring. Make sure the surface is completely dry prior to application.
2. Apply the JustTeak™ Teak Oil Sealer by either brush, pad applicator or rag. Take note to apply sealer along the length of the board to ensure even coating and avoid line marks.
3. Apply generously. Allow to dry, soak up any areas that may have not absorbed the sealer. When touch dry, apply 1-2 subsequent coats until the teak stops absorbing the sealer.
LOOKING AFTER YOUR SEALED TEAK Over time the sealer will start to lose its lustre and water beading capability. A fresh coat of JustTeak: Teak Sealer should be applied to restore the finish. For best results remove the Teak Sealer with JustTeak Cleaner and Brightener and re-apply.

Applying teak oil is a simple and effective way to maintain the beauty and longevity of your boat’s teak wood. Just follow these simple steps and you can ensure that your teak wood surfaces remain protected, shiny, and smooth. Regular maintenance will prevent the wood from drying out, fading, or cracking, and keep your boat looking its best for years to come. So, go ahead and try it out – your teak wood will thank you!

The the best value, choose from our Teak Restorations Kits that include the Teak Cleaner, Teak Brightener, and Teak Sealer for the best Savings!
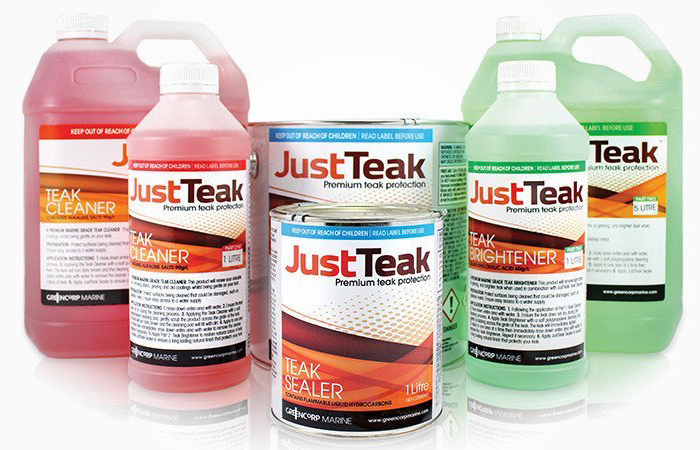
Just Teak Restoration Kits

Maintaining and Restoring Your Gelcoat

Last Updated: January 9, 2026

Quick Recommendation

How to Maintain and Restore Boat Gelcoat

  • For routine maintenance: Wash regularly with a non-abrasive boat soap and apply a UV-protective marine wax to prevent oxidation and fading.
  • For light oxidation or dullness: Use a gelcoat cleaner or mild polish to restore shine before sealing with wax.
  • For heavy oxidation or chalking: Start with a compound, follow with a polish, then protect with a marine-grade wax or sealant.
  • Bottom line: Regular cleaning and protection prevent major restoration work; neglected gelcoat requires compounding, polishing, and sealing to fully restore appearance.

Tip: Always test compounds and polishes on a small area first, and avoid aggressive abrasives that can permanently thin the gelcoat.


As you haul your boat out of storage you may want to get the gelcoat shining once again.
Use the steps below as needed:

New Boats

Which Products To Use:
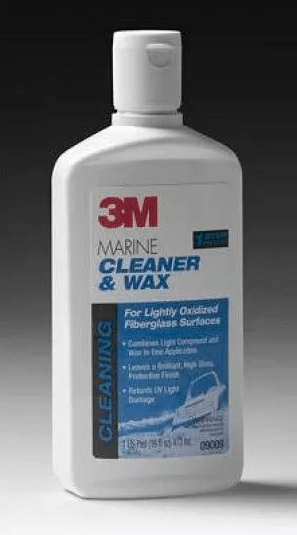
If your boat is new and the finish is still in good condition with little to no oxidation, you can use a one-step clean-and-wax product that combines washing and waxing in one step. We recommend using the 3M Marine Cleaner and Wax.

If your boat has light gelcoat oxidation use the least aggressive method, if possible, to prolong the life of gelcoat. We recommend cleaning with marine boat soap and buffing with the 3M Imperial Compound. Avoid direct sunlight and room temperature is best for application.

Note: An easy way to determine if gelcoat is oxidized is by wiping your hand across the surface. If any chalk wipes off on your hand, the gelcoat is oxidized and you will need to wash and buff the surface before polishing.

Follow these three simple steps to polish your gelcoat:

Step 1: Once you know which polish to use we recommend using a high-quality microfiber towel to apply the product. Avoid low-quality towels because they will shed fibers and leave streaks and residue on the boat.

Step 2: Wet the microfiber rag, remove any excess and apply a tablespoon of polish to the rag. This amount of polish will work for a few square feet. Remember, you want to work in small areas in order to cover the entire surface correctly.

Before buffing, spread the polish evenly across the boat’s gelcoat. You will get the best results when working the polish into the surface with circular motions.

Step 3: Once the polish dries into a haze you can remove it with a clean dry rag. Make sure you get in all the nooks and cracks for a smooth beautiful finish.

Older Boats


If your boat has been in contact with the elements over long periods of time (10-15 years), the process of restoring the appearance of the gelcoat will take some additional steps.

Step 1: Clean the surface. For boats that need a more aggressive cleaning just wash the surface and remove any loose contaminants. You can use a non-abrasive light detergent (marine boat soap) to remove all surface dirt and all previously applied coatings.
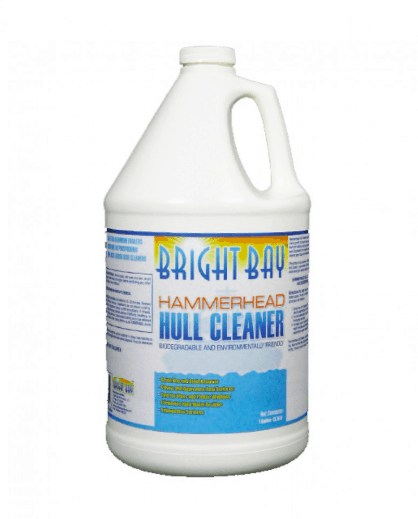
If you need something stronger to remove surface rust, oil, tar, algae discoloration, black streaks caused from water runoff, exhaust and waterline scum, or other stains we recommend using an acid-based stain remover like Hammerhead Hull Cleaner. It is important to completely remove all stains before waxing, or you’ll seal in the stain.

Step 2: Select your compound. If your boat is a bit more oxidized a rubbing compound (liquid abrasive which “sands” your hull) is needed, but do so carefully as you can run through the gelcoat. The more faded your hull the more compounding you’ll need. The 3M Imperial Compound usually applied with a polisher if possible and compatible 3M pads, like the white 100% wool pad, recommended by 3M. Keep product off bottom paint, if applicable, by taping off as it can spatter. If the compound isn’t strong enough for your level of oxidation and scratches, then you may need to “pretreat” with a 1200 (or 800) grit as needed prior to the compound.

Note: When buffing, you should work on small sections of the hull (3-5ft sections is recommended). It is important to keep the wool pad damp. If you notice the pad is dry and the wool looks ‘matted’ after working the material into one area, just rake the wool back into form with a pad spur and re-wet the pad to continue with the application.

Step 3: Polish the surface. We offer the 3M Finesse-It II or Aqua buff 1000, to help provide a nice finish to the gelcoat after compounding and bring it to a gloss. Apply with the yellow pad by 3M.

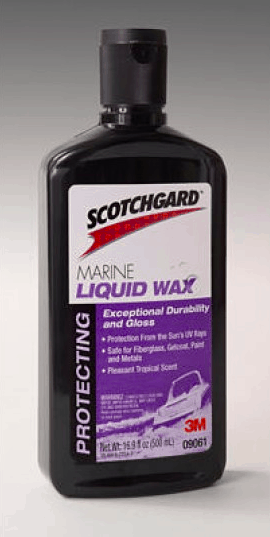
Step 4: Wax to seal. The last step is a wax coat such as Scotchguard Marine Liquid Wax or 3M Ultra Performance wax. These helps to seal and protect all the work you’ve just completed.

Gelcoat vs Topcoat

Gelcoat is a type of resin that is applied to the hull of a boat in order to give it a smooth, glossy finish. In addition to its aesthetic appeal, gelcoat also helps to protect the hull from UV damage and tough weather conditions. While gelcoat is typically clear, it can also be tinted to a color to give the boat a unique look.

Topcoat is applied above the waterline only and is typically a polyester based high gloss polyurethane that provides long lasting gloss and color retention. Topcoat is available in both clear and colored varieties, and it can also be glossy or matte finish.


Gelcoat Restoration Process (Step-by-Step)

Restoring gelcoat properly requires addressing oxidation in stages, then sealing the surface to protect it from UV damage and water exposure.

Step Purpose When Needed
Wash & Decontaminate Removes dirt, salt, and surface grime Before any gelcoat work
Compound Removes heavy oxidation and chalking Gelcoat appears dull, rough, or faded
Polish Refines surface and restores gloss After compounding or for light oxidation
Wax or Seal Protects against UV, water, and staining Always after polishing

When to Repair vs Restore Gelcoat

Not all gelcoat issues can be fixed with compounding and polishing. Use the guide below to determine whether restoration or repair is required.

  • Restore gelcoat if the surface is faded, chalky, lightly scratched, or dull but still intact.
  • Repair gelcoat if there are deep cracks, chips, blisters, exposed fiberglass, or structural damage.
  • Re-gelcoating or repainting may be necessary if oxidation returns quickly or the gelcoat has been sanded too thin over time.

Rule of thumb: If the damage can’t be corrected with polishing alone, gelcoat repair products are the safer solution.

Gelcoat Maintenance & Restoration FAQs

How often should gelcoat be waxed?

Most boats benefit from waxing gelcoat every 3–6 months, depending on sun exposure and water conditions.

Can oxidized gelcoat be permanently fixed?

Oxidation can be removed, but regular waxing or sealing is required to prevent it from returning.

Is compounding bad for gelcoat?

Compounding is safe when done sparingly, but excessive compounding can thin the gelcoat over time.

Can gelcoat be restored without a buffer?

Light oxidation can be addressed by hand, but machine polishing is recommended for consistent results.

What causes gelcoat to fade or chalk?

UV exposure, saltwater, pollution, and lack of protective wax are the primary causes of gelcoat deterioration.

Products That Help Maintain and Restore Gelcoat