Are you ready to dive deep into the world of boat bottom paint? Well then, you’ve come to the right place! We’re going to cover everything you need to know about choosing the right bottom paint for your boat.
If you’ve owned a boat for any length of time you know, bottom paint is an essential component of boat maintenance, particularly for boats that are kept in the water for extended periods. It’s crucial because the bottom of a boat is exposed to harsh elements such as saltwater, algae, and other marine organisms, which can cause damage and reduce the performance of the vessel. Applying a high-quality bottom paint to the hull of the boat can help protect it from these elements, preventing the growth of algae and other marine organisms, reducing drag, and improving the boat’s overall performance. Bottom paint also helps prevent corrosion and other types of damage to the hull, which can ultimately extend the lifespan of the boat. By investing in quality bottom paint and regularly maintaining it, boat owners can ensure that their vessel remains in good condition and performs at its best for years to come.
KEY TAKEAWAYS
- Choose a bottom paint that is suitable for the type of water and conditions in which your boat will be used.
- Consider the type of hull material your boat has, as some paints may not be compatible with certain materials.
- Choose the appropriate type of bottom paint based on the level of fouling in your area and the type of marine life that is present.
- Select a paint that is compatible with any existing coatings on your boat’s hull.
- Consider the application method and how easy it will be to apply and maintain the paint.
- Make sure to properly prepare the surface before applying the bottom paint to ensure optimal performance.
- Follow the manufacturer’s instructions for application, drying times, and maintenance to maximize the lifespan of the bottom paint.
The Different types of bottom paints available
There are several different types of bottom paints available for boats, each with its own unique properties and benefits. Here are some of the most common types of bottom paint:
Hard bottom paint – This type of paint is designed for boats that are used frequently and require a durable, long-lasting paint that can withstand abrasion and harsh marine environments.
Soft bottom paint – Soft bottom paints are ideal for boats that are stored on land for extended periods and are less frequently used. These paints offer excellent antifouling protection, but they may require more frequent reapplication.
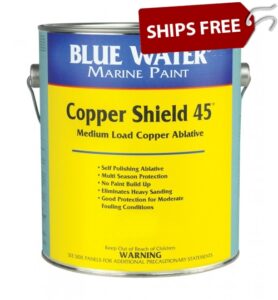
Ablative bottom paint – This type of paint is formulated to wear away slowly over time, gradually releasing biocides to prevent fouling. Ablative bottom paints are ideal for boats that are used frequently and require continuous antifouling protection.
Copper-free bottom paint – Copper-free bottom paints are becoming increasingly popular due to concerns about the environmental impact of copper on marine ecosystems. These paints use alternative antifouling agents, such as zinc or biocides, to prevent fouling.
Hybrid bottom paint – Hybrid bottom paints combine the benefits of multiple types of bottom paints, offering excellent antifouling protection, durability, and environmental safety. These paints are a great option for boaters who want the best of all worlds.
When choosing a bottom paint, it’s essential to consider factors such as the boat’s usage patterns, the type of water the boat will be used in, and environmental regulations governing antifouling agents. It’s also important to choose a paint that is compatible with your boat’s existing paint and surface preparation.
What are the factors to consider when choosing bottom paint?
There are several factors to consider. Here are some of the most important ones:
Boat usage: The type of bottom paint you choose will depend largely on how often you use your boat and the type of water you’ll be operating in. Boats that are used frequently and kept in the water year-round may require a different type of paint than those that are only used seasonally or kept on land.
Hull material: The type of material your boat’s hull is made from can affect the type of bottom paint you can use. For example, some types of bottom paint may not be compatible with certain hull materials, such as aluminum or fiberglass.
Water conditions: The type of water you’ll be operating in can also affect the type of bottom paint you need. For example, boats operating in saltwater may require a different type of paint than those operating in freshwater.
Antifouling properties: Antifouling properties are an essential consideration when choosing bottom paint. The paint you choose should be effective at preventing fouling and protecting your boat from marine organisms.
Environmental regulations: Many areas have regulations governing the use of certain types of bottom paints due to their potential impact on the environment. Before choosing a bottom paint, be sure to check local regulations to ensure you’re using a product that’s allowed in your area.
Compatibility with existing paint: It’s important to choose a bottom paint that’s compatible with your boat’s existing paint and surface preparation. Using an incompatible paint can lead to adhesion issues and other problems.
Personal preference and budget are also important factors to consider when choosing bottom paint for your boat.
When it comes to personal preference, you may have a particular type or brand of bottom paint that you prefer based on past experience or recommendations from other boaters. It’s important to choose a product that you feel comfortable using and that meets your specific needs.
Budget is also an important consideration. Bottom paint can range in price depending on the type, brand, and quality of the product. While it may be tempting to choose a cheaper option to save money, it’s important to remember that high-quality bottom paint is an investment in the long-term health and performance of your boat. In the end, choosing a quality product may actually save you money in the long run by reducing the need for frequent repainting and repairs.
It’s important to weigh these factors against the other considerations mentioned earlier, such as boat usage, water conditions, and environmental regulations. By finding a balance between these various factors, you can choose a bottom paint that meets your needs while staying within your budget.
In addition to these basic types, there are also specialized bottom paints that are designed for specific conditions, such as warm water or extreme fouling. It’s important to choose a bottom paint that’s appropriate for your specific needs and usage patterns, and to consider factors such as your boat’s hull material, water conditions, and local environmental regulations when making your selection.
What is the paint application process?
The application process for bottom paint can vary depending on the type of paint you choose, but generally, it will involve surface preparation, choosing the right application method, and applying the paint. Here’s a breakdown of the steps involved:
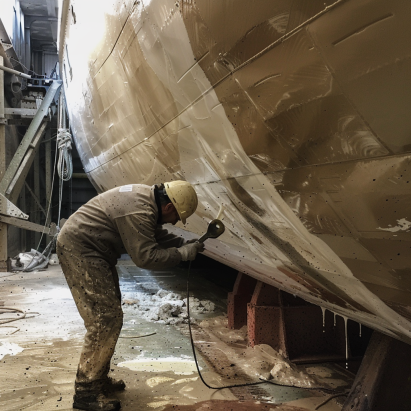
Surface Preparation:
Proper surface preparation is critical to ensuring that the bottom paint adheres well and provides effective protection against fouling. Before applying the paint, you’ll need to clean and prepare the hull surface by removing any old paint, dirt, oil, or other contaminants. This may involve sanding, scraping, or pressure washing, depending on the condition of the surface.
Choosing the Right Application Method:
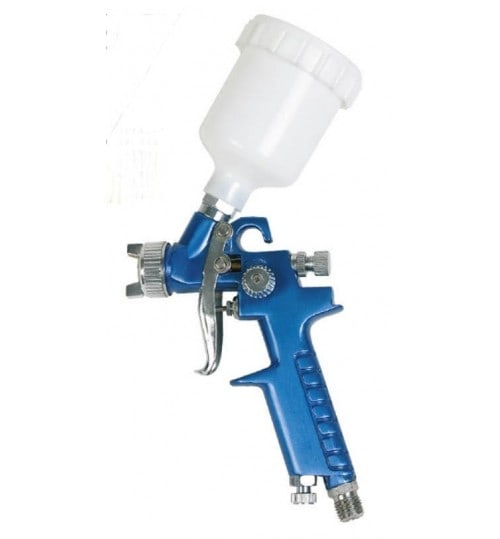
There are several different methods for applying bottom paint, including brush, roller, and spray. The method you choose will depend on the type of paint you’re using, the size and shape of your boat, and your personal preference. Some types of bottom paint may require a specific application method, so be sure to read the manufacturer’s instructions carefully.
Applying the Bottom Paint:
Once the surface is clean and prepared, and you’ve chosen the right application method, it’s time to apply the paint. Be sure to follow the manufacturer’s instructions carefully, and apply the paint evenly and smoothly. Depending on the type of paint you’re using, you may need to apply multiple coats to achieve the desired level of protection. Be sure to allow each coat to dry thoroughly before applying the next.
After the paint has been applied, be sure to clean up any tools or equipment and dispose of any leftover paint or solvents in accordance with local regulations. Proper disposal is important to protect the environment and prevent pollution.
The application process involves proper surface preparation, choosing the right application method, and applying the paint according to the manufacturer’s instructions. By following these steps carefully, you can ensure that your boat’s bottom paint provides effective protection against fouling and extends the life of your vessel.
How do I know how many coats of bottom of bottom paint to apply?
The number of coats of bottom paint you should apply can depend on the type of paint you’re using, as well as the manufacturer’s recommendations. Generally, bottom paint manufacturers will specify the recommended number of coats on the product label or in the application instructions.
In most cases, two coats of bottom paint are recommended for optimal performance and protection. However, some paints may require more or fewer coats, so it’s important to consult the manufacturer’s instructions for guidance.
Factors such as the condition of your boat’s hull and the type of water and marine life in your area can also impact the number of coats of bottom paint needed for adequate protection.
It’s important to note that applying too many coats of bottom paint can actually be counterproductive and lead to issues such as cracking or peeling. Therefore, it’s best to follow the manufacturer’s instructions and apply the recommended number of coats for the specific paint you’re using.
Maintenance and Repainting
Maintaining your boat’s bottom paint is essential to ensure that it continues to provide effective antifouling protection and prolong the life of your vessel. Here are some tips for maintaining your boat’s bottom paint:
Regular Cleaning: Regularly cleaning your boat’s hull will help to remove any dirt, grime, or debris that can build up on the surface and reduce the effectiveness of the bottom paint. Use a soft-bristled brush or a pressure washer to gently clean the hull, being careful not to damage the paint.
Inspect the Paint: Regularly inspecting your boat’s bottom paint can help you to catch any problems early on and prevent them from becoming more serious. Look for signs of chalking, cracking, or peeling, which can indicate that the paint is no longer providing effective protection.
Address Any Problems Promptly: If you notice any problems with your boat’s bottom paint, such as chalking, cracking, or peeling, it’s important to address them promptly. This may involve sanding, scraping, or repainting the affected areas to restore the protective coating.
Repaint as Needed: Over time, all bottom paints will wear away and lose their effectiveness. Depending on the type of paint you’re using and the conditions in which you use your boat, you may need to repaint every 1-3 years to maintain effective antifouling protection.
When it comes time to repaint your boat’s bottom, the process will be similar to the initial application process. You’ll need to prepare the surface by cleaning and sanding the hull, choose the appropriate type of paint, and apply it according to the manufacturer’s instructions. It’s important to choose a high-quality paint and to follow proper application techniques to ensure that your boat’s bottom paint continues to provide effective protection for years to come.
How do I know when it’s time to repaint bottom paint?
Knowing when to repaint your boat’s bottom paint can depend on several factors, such as the type of paint used, the conditions in which your boat is used, and the level of fouling on the hull. Here are some general signs that it may be time to repaint your boat’s bottom paint:
It has been several years since the last application: Most bottom paints have a lifespan of around 2-3 years, after which they will begin to lose their effectiveness.
The paint is visibly worn or peeling: If you can see patches of bare hull or the paint is peeling, it’s a good indication that it’s time to repaint.
Increased fouling: If you notice an increase in fouling, such as barnacles or algae, on your boat’s hull, it may be time to repaint with a more effective antifouling paint.
Reduced performance: If your boat is slower than usual or handling differently, it may be due to a buildup of fouling or worn-out bottom paint.
Inspection reveals wear or damage: During routine maintenance, if you notice any wear, scratches, or damage to the bottom paint, it may be time to repaint to prevent further damage.
It’s important to note that regular maintenance and cleaning can extend the lifespan of your bottom paint and help you catch any issues before they become too severe. If you are unsure whether it’s time to repaint your boat’s bottom paint, consult with a marine professional or bottom paint manufacturer for guidance.
Where can I buy bottom paint?
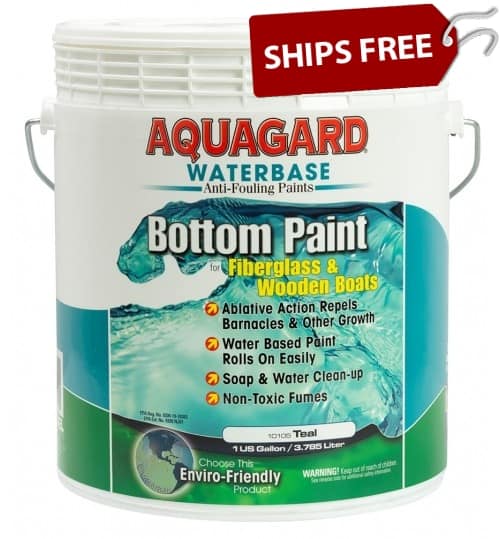
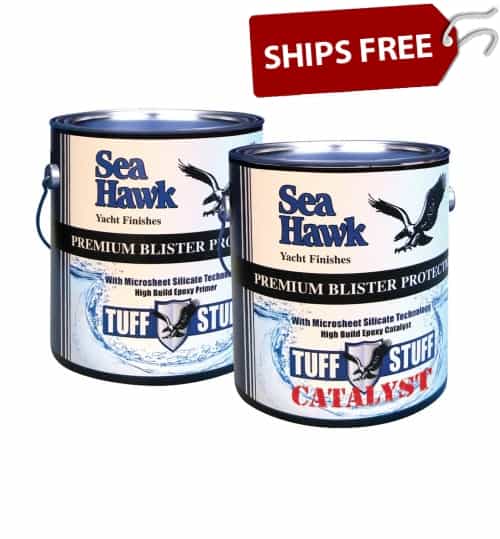
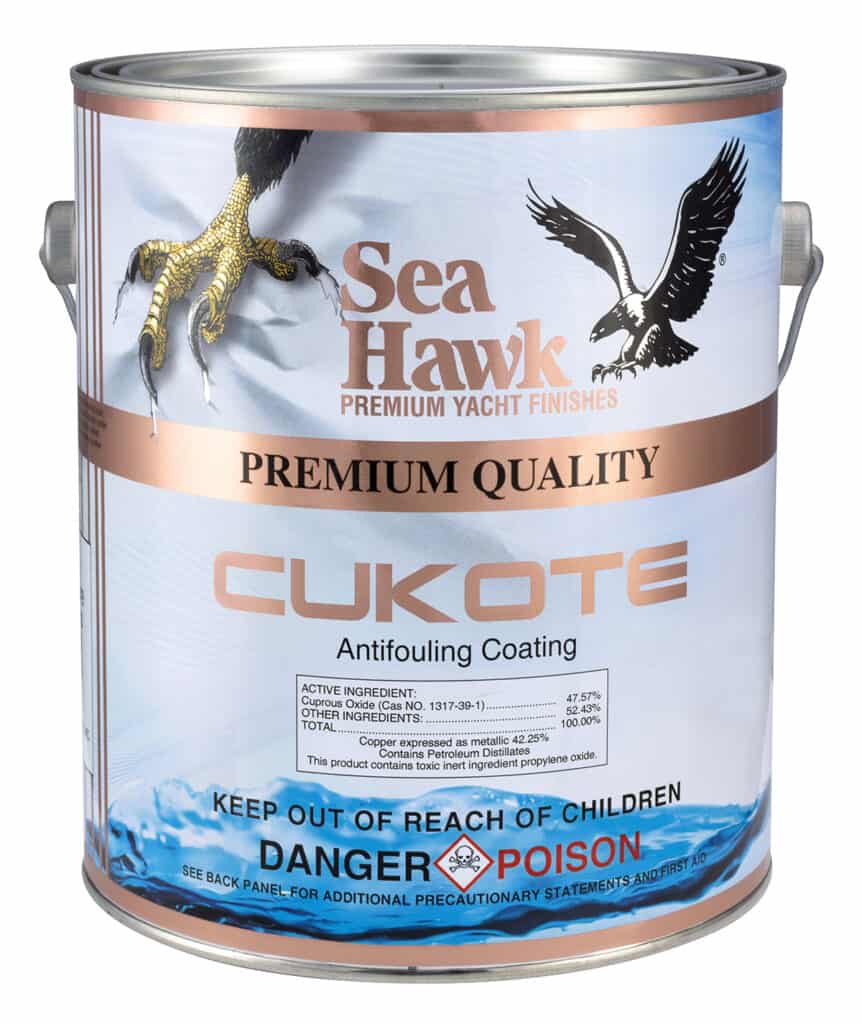
You can buy bottom paint at Bottom Paint Store, an online store that specializes in selling premium marine paints, gel coat, varnish, and supplies.
When shopping at a bottom paint store, you will find a wide variety of bottom paint, including antifouling paints, ablative paints, hard paints, and more. These paints come in different colors, sizes, and formulations to meet the needs of different types of vessels and boating conditions.
Alright, we’ve covered a lot. So, to wrap things up, choosing the right bottom paint for your boat is crucial to keeping your vessel in tip-top shape. You want to make sure you pick a paint that’s suited for your boat’s specific needs and the conditions it’ll be facing. You also want to make sure you follow the manufacturer’s instructions for application and maintenance, so you get the most bang for your buck. Remember, keeping your boat’s bottom clean and protected not only helps it perform better on the water, it also helps you avoid costly repairs down the line!